
Scrapbooking How-to: Creating a Stamped Watercolor Background
- Allison
- Jul 7, 2020
- 2 min read


Supplies used - Cardstock: American Crafts; Patterned paper, chipboard, and stickers: Simple Stories; Watercolors: Pinkfresh Studio; Embroidery floss: DMC
Watercolors have been something I have really enjoyed experimenting and playing around with for the last few months. It was a little scary and a little out of my comfort zone to start creating with watercolors, but I'm finding that there is really a lot you can do with them. Here's a quick how-to for creating a stamped watercolor background.
Supplies Needed:

• a piece of wax paper
• liquid watercolor (you could also create this look with acrylic paint or ink)
• a small plastic lid (I used a lid from a bottle of mist)
• cardstock paper to stamp your design onto
Step #1 - Add a drop or two of the watercolor to the wax paper.

You don't need much, a little will go a long way. I used maybe 3-4 drops total to create the whole background. I tend to use a drop at a time so I don't waste any. I can always add more and I can't put what is left over back in the bottle.
Step #2 - Roll the rim of the lid through the watercolor paint.
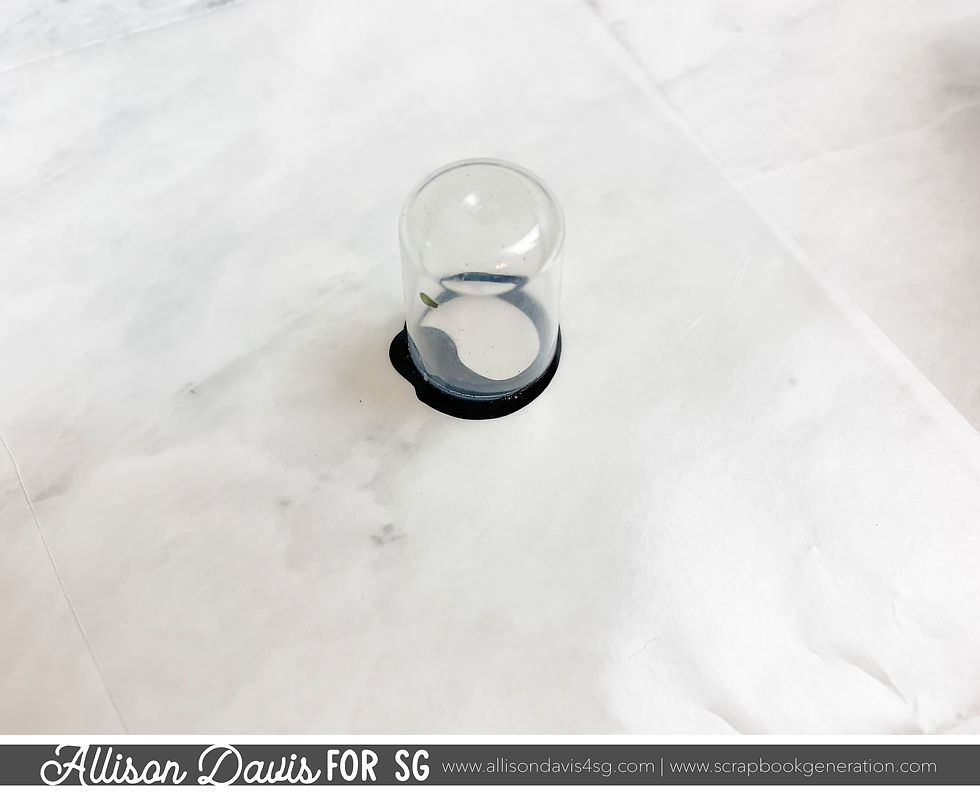
I say "roll" because if you stamp the lid straight down into the watercolor it will create a bubble over the whole opening of the lid like this:

If you stamp the lid with the bubble on it, it will create a completely filled in circle. I double check before each stamp of the lid to make sure that I don't have a bubble over the opening. If you do have a bubble, just do a quick stamp on your wax paper to remove it.

Step #3 - Stamp the lid onto the cardstock background.


Step #4 - Roll the lid in the watercolor again for each stamp and continue your design on the cardstock.


This is kind of a messy technique. Don't shoot for perfection with this! Each circle will be different and you most likely will end up with little splatters and droplets here and there.

To embellish the watercolor stamped background on my layout, I added some punched circles, stickers, and hand-stitching to a few.

Want to see more? Find me on...


Brand: Unimatic for Massena LABModel: Modello Uno Ref. U1-ML6Reference: U1-ML6Diameter: 40mm case, 41.5mm link bezelThickness: 13.6mmCase Material: Stainless steelDial Color: "Tropical" dial link created with galvanic treatmentIndexes: Hand-applied Super-LumiNovaLume: Hand-applied Super-LumiNova on markers and handsWater link Resistance: 300 metersStrap/Bracelet: Horween shell cordovan Color 8 strap; black, heavy-duty Unimatic nylon NATO strap
But that's just one of several pictures in production for the legendary comedic and dramatic star. And so today, we have spotted an on-set photo – a very link Bill Murray on-set photo link – of the actor shooting a film called The Friend. In this image we find him standing link next to a massive Great Dane with his hands on his knees in New York City.
Love the “imperfection,” that’s what makes it look so cool! And I love the variety of things going on... It’ll be on my list of things to try, for sure.
Definitely going to try this technique!