
Sketch Support #35 | Learn How to Use and Adapt Scrapbook Sketches | Day 1
- Allison
- Jan 29, 2024
- 2 min read

Once a month learn how to use scrapbook sketches and adapt them to fit different styles, photo sizes, and themes. Sketches = endless scrapbooking ideas with little effort. Sketches do all the heavy lifting allowing you to have all the fun!
The first Sketch Support of 2024 starts today! That means a new, free sketch that you can download at Scrapbook Generation and three new layouts that I'll be sharing throughout the week.
Here is the sketch that I have used as the starting point for each layout this week:

You can also grab the Sketch Support #34 Bonus Sketch Examples!

This month it is a 3-page PDF of 23 different sketch options. That makes 24 sketches for this month of Sketch Support. There are options that show how to change up the papers, use more photos, use less photos, there are four two-page options, and then an 8-1/2 x 11" option. The fun part is that you could use each option as a layout on its own, but you could also mix and match different options for endless possibilities!

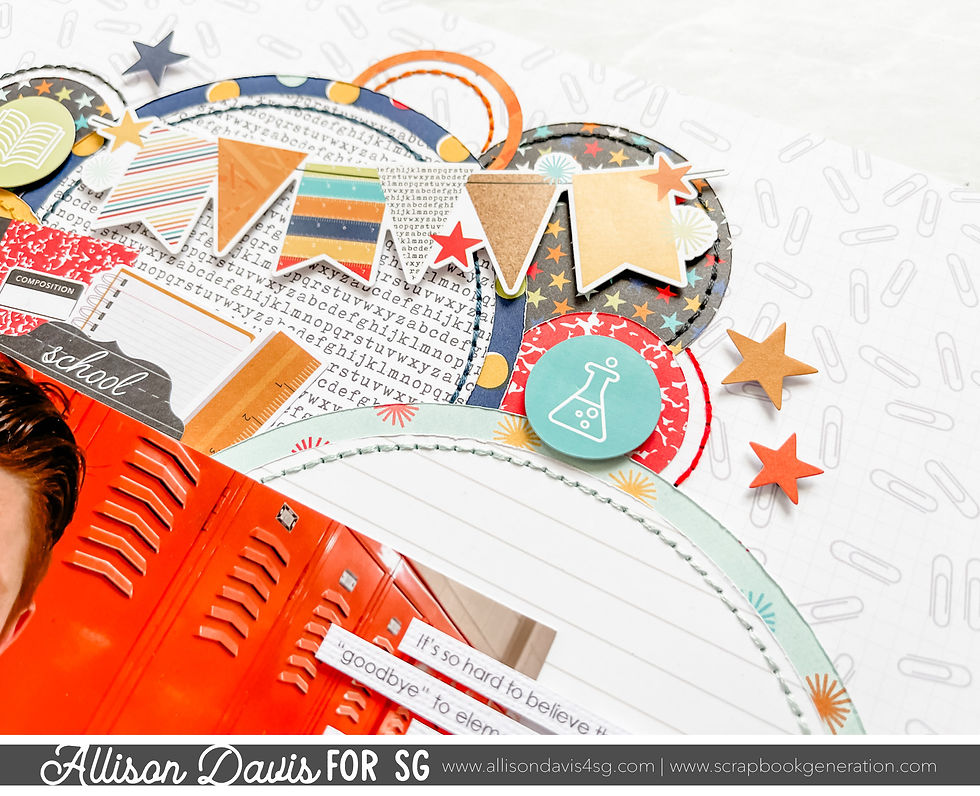
Supplies used - Cardstock: American Crafts; Patterned paper, stickers, foam stickers, die cuts: Simple Stories; Embroidery floss: DMC; Computer font: Century Gothic
My first layout is a mix of following the sketch while making a few changes to fit the theme and a different photo size.
First I flipped the layout design. With Drew on the left edge of the photo it felt like a better fit to flip the design.
The base of the layout, all of those circles, follows the sketch exactly. Then I added a few extra sticker circles on top. The little school icon stickers were too perfect to pass up and I adhered them with foam adhesive to add a little dimension to the circle design.
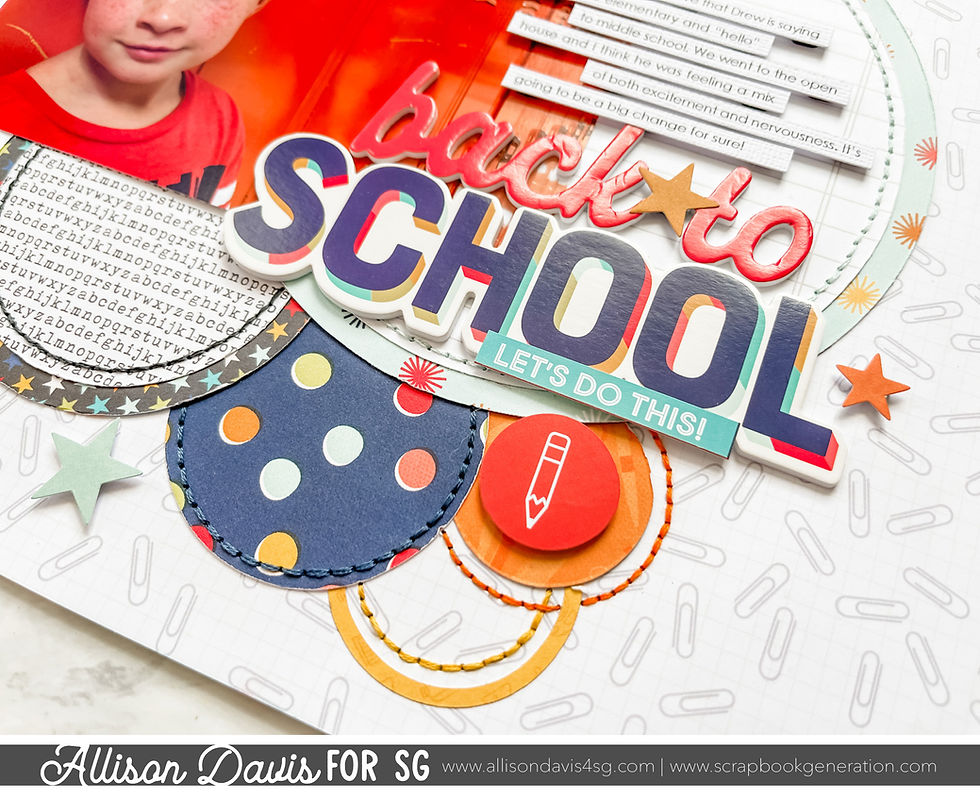
I also added a banner sticker at the top edge of the circles. It was just one of those things where I noticed the banner sticker and thought it might be cute to use and it ended up fitting perfectly.
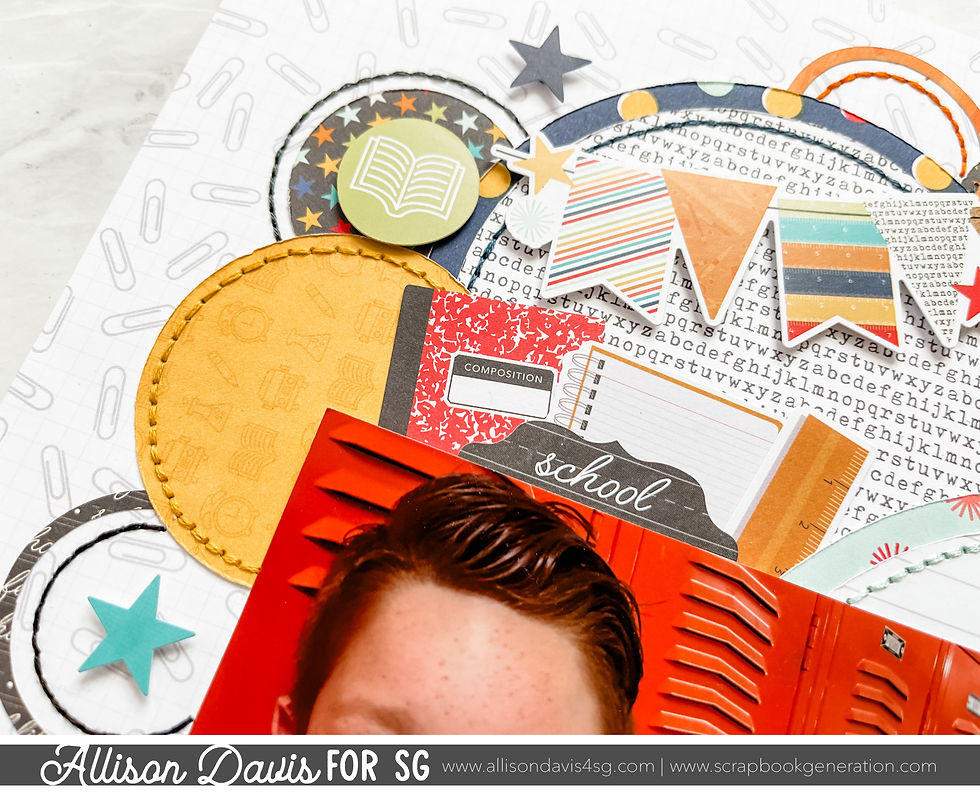
Instead of the three tags sticking out from the photo I decided to used themed school themed die cuts. This felt like a good way to incorporate the theme into that area of the sketch.
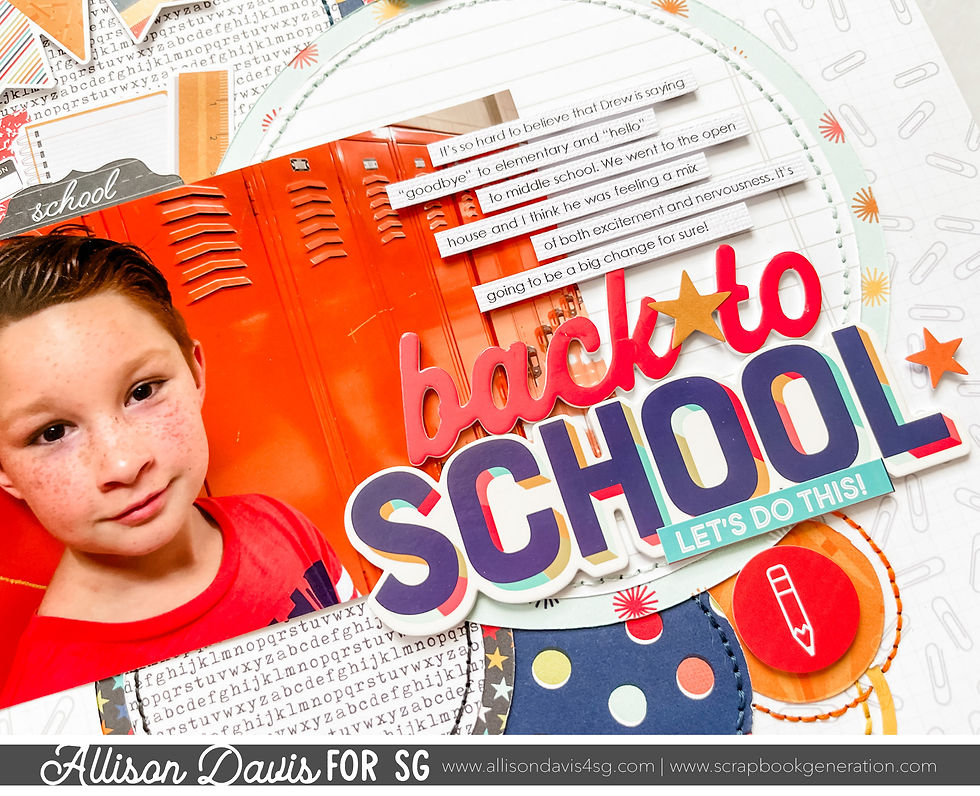
For my photo I used a 6 x 4" instead of the 4 x 4" photo on the sketch. There's plenty of room there for a larger photo so I didn't have to make big adjustments. It also helped that there is a lot of empty space in the photo so my journaling strips could overlap onto it a little.
To finish the design and I added some star die cuts with foam adhesive.
That's all for today! Be sure to check back tomorrow for another layout using this sketch!
If you enjoy sketches or want to learn more about adapting them, I've got a year-long class going on right now with Scrapbook & Cards Today magazine.
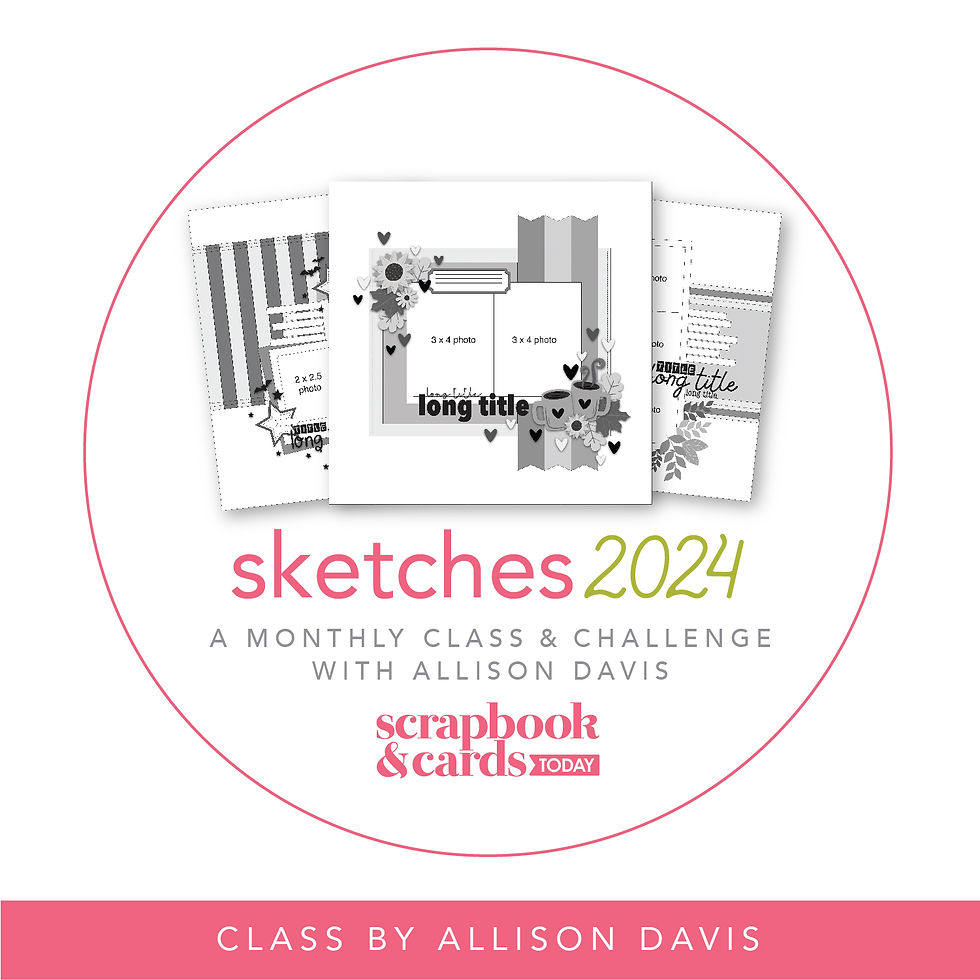
You can get all the information and sign up here: Sketches 2024
Shop all sketches here: Allison Davis Sketches
Want to see more? Find me on...

We haven't gotten our hands on a copy of Submariner yet, but the prospect of Foulkes writing combined with access link to Rolex's archives has me excited. I have no doubt there'll be tidbits of information that'll have collectors' heads spinning. As soon as we link can, I'll come back with a report link of any new info the book might have for Rolex collectors.
Another essential development was the evolution of the so-called Lépine caliber, which was developed by Jean-Antoine Lépine in the 18th century, and which link did away with link the bulky but then-ubiquitous fusée. This allowed the balance to be placed on the same plane as the rest of the going train, and combined with the use link of now-standard bridgework, rather than the earlier pillar-and-plate construction, made it possible to make really flat watches for the first time.