
Scrapbooking Quick Tips: Creating Clusters
- Allison
- May 3, 2022
- 3 min read

On of the most common questions or struggles I see people mention is creating clusters. I have a few methods and tips that I use that make creating them super easy no matter the size, the arrangement, or the location on your layout. I'll use a layout I made that has one of my favorite, go-to design concepts with clusters.
Supplies used - Cardstock: American Crafts; Patterned paper and stickers, Echo Park;
Flower cut files: Lori Whitlock #19408 and Sweet Elise #195400 from the Silhouette Design Store; Leaf cut files: Lilium Pixel SVG #293541 from the Silhouette Design Store; Nuvo Drops: Tonic Studios; Embroidery floss; DMC; Computer font: Century Gothic
The Secret to Creating Interesting and Detailed Clusters
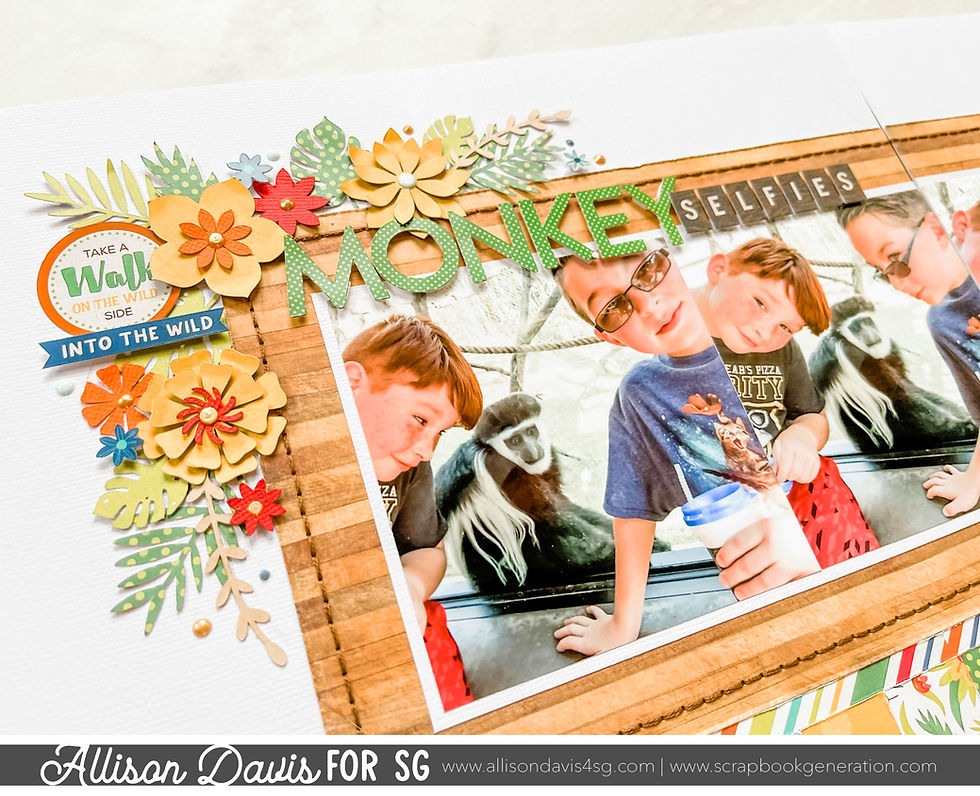
I think the key to a well put together cluster is having lots of dimension throughout the design. This helps the individual pieces to stand out while also creating a visually exciting details on the layout.
The most common way I do this is by using...
• Foam adhesive to pop up a few details. This really give a lot of dimension in the cluster and makes detail literally stand out.
• A variety of sizes. I typically have a mix of large, medium, small, and teeny tiny elements. I also like to include long, skinny pieces like vines, feathers, or flourishes.
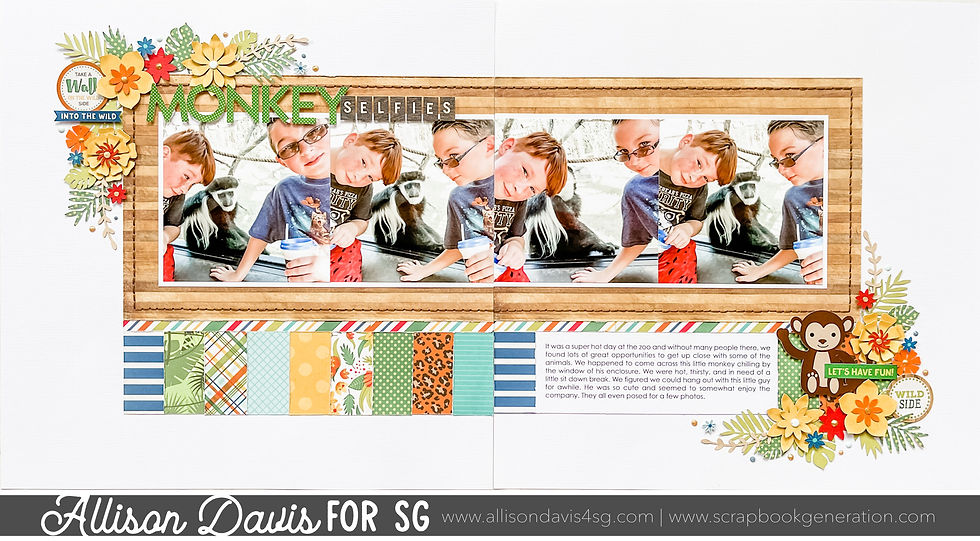
• A variety of details. I like to mix different details throughout the cluster. For example, with my Monkey Selfies layout I have die cut flowers, circle stickers, word/phrase stickers, vines, leaves, and Nuvo Drops.

• A variety of textures. Mixing up textures adds another level of dimension and detail to your cluster. One of my go-to mixtures is patterned papers, stickers, wooden elements, and Nuvo Drops. Each of these has a different texture and it really adds a lot of interest to a cluster.
My Method for Creating Clusters
This method is super simple and works for (so far) any cluster design I've created.
1. Start by arranging your larger pieces first. I like to use foam adhesive on the largest pieces.
2. Add in your medium pieces. Often these are slightly tucked under or overlapped onto the larger pieces.
3. Add a few longer pieces like vines or flourishes. These are usually tucked under the larger and medium sized pieces.
4. Use your small pieces to fill in any gaps that you didn't fill with the large, medium, or long pieces.
5. Add your finishing details. These are usually teeny tiny details like small punched shapes or I really like Nuvo Drops. I also like to add in some word/phrase stickers here and there.
If you look at the cluster on my layout, here's how I put it together:

I started with the three larger yellow flowers and arranged them to frame the corner with a little space in between them: one in the middle with two on each side. Then I added in the vines and leaves (medium and long elements), so that they are kind of peeking out and tucked behind the larger flowers. I also added the circle sticker and the Monkey sticker. Next I added in some smaller flowers and use them to fill in any gaps I had. My last detail was a few Nuvo Drops for the center of the flowers and then a few random Nuvo drops here and there.
Easy Tip for Duplicating a Corner Cluster
On of my go-to design concepts that I love using is having a block that has two corners framed with an embellishment cluster. The following tip is an easy and fast way to duplicate a cluster so they match.
After I have completed one cluster I will take my page, flip it so that it’s upside down and use it as a guide to complete the exact same cluster on the other page.
Obviously you don’t HAVE to have an exact matching cluster for both sides, I just find it easier and faster to create these clusters when I do that. If you look at mine, aside from the monkey sticker in the bottom corner, they are an almost exact mirror image of each other.

The layout I shared today is created based on a sketch from the Sketches for 6x6" Paper Pads: Two-page Sketches bundle.

Want to see more? Find me on...


There are two versions of the watch, in white gold and rose gold, and each uses link mostly the same type of clear stones and colored stones. Diamonds are present on both watches, and both use tsavorite, amethyst, and tourmaline, but the rose gold model uses a single round rubellite gem, as well (rubellite is link the link red version of tourmaline, and the rarest tourmaline variant).
The Conquest comes in your choice of a black, silver, or blue dial on a bracelet with a list price of $1,250. It's 11.7mm thick and has a sapphire crystal with internal link anti-reflective treatment, and a screw-down crown and caseback. In a Longines sense, this is the brand's OP. But get this, link it's water-resistant to 300 link meters.