
Creating w/ 6x6" Paper Pads | Half Circle Pattern
- Allison
- May 21
- 2 min read

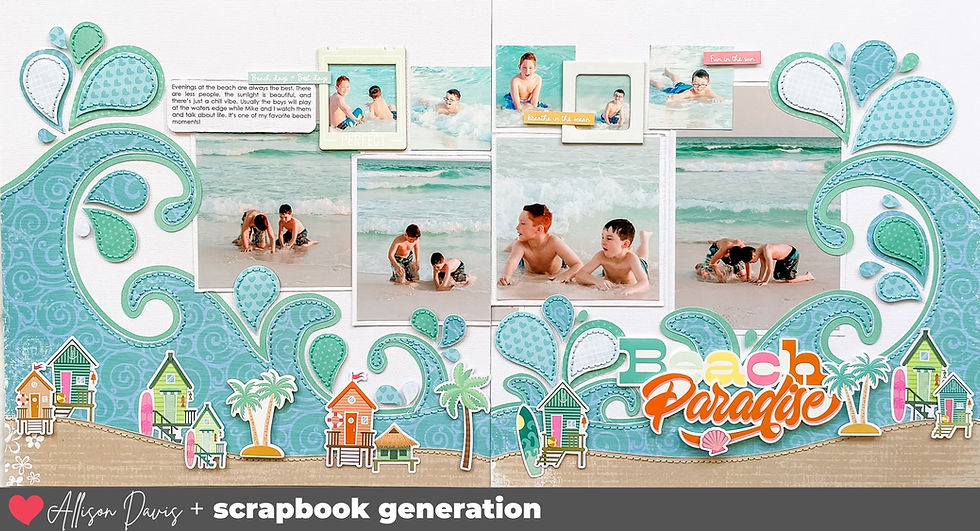
One of the things I absolutely love about using smaller papers like 6x6" or 6x8" on full size layouts is that it forces you to think outside of the box and really stretch your creativity. You often have to find ways to build a larger design with smaller pieces and I've learned that that can open the door for so much fun!

Supplies used - Cardstock: American Crafts; Patterned paper, stickers, die cuts: Echo Park; Circle punch: Fiskars; Embroidery floss: DMC
To create this pattern I used a 1" circle punch with various colors of patterned paper. I wanted to create a rainbow-style color arrangement with the papers in this Echo Park collection so I punched enough of one color/pattern for each row across the layout.

Then I used my paper trimmer to cut each circle in half. If you have a steady hand and feel like you can free-hand well you could also just cut them with scissors.

To create the pattern I started a row with two half circles grouped together to create a square. The straight edge of the half circles are on the left and right edge and then the curved part meets in the middle. For the second one I arranged them so that the straight edges of the two circles are at the top and bottom edges. Then I alternated those directions across the whole row.
For the next row, I did the opposite of the row before it kind of creating a checkerboard style pattern.

I LOVE the way this turned out! And, this is a fantastic design concept to keep in mind and save for later use. Anytime you have a design made up of squares, you could also swap them out for half circles like this! It really is a fun concept to play around with, especially with those smaller papers!
Shop all sketches here: Allison Davis Sketches
Shop all cut files here: SG Cut Files
Want to see more? Find me on...


Comments