
How to: Creating a Layered Sunburst Design
- Allison
- Oct 17, 2019
- 4 min read

Try using several different patterns and colors of angled strips for a fun layered sunburst design.

Drew's first time trick-or-treating was quite the roller coaster of emotions for him.
I mean really, what event isn't a roller coaster of emotions for a toddler?
We began with him intensely embarrassed and very reluctant to travel outdoors in his costume. I think he thought we just made up the holiday solely so we could put him in a goofy costume for our own amusement. Eventually he relaxed when he saw that he wasn't the only person wearing a costume. His mood improved tremendously when he found out there was candy involved. By the end of the night he had fully embraced his dragon costume by performing roars for treats and joyfully declared Halloween as the best day ever.
I had this photo of him mid-roar for his treats at his Aunt's house that I wanted to play around with. I had a few ideas floating around based on the moment being captured from the side and him roaring across the photo.
I like finding interesting ways to incorporate a certain element in the photos into the design of my layout. Since he was yelling across the photo, I wanted the design to look like an extension of his roar, bringing the photo and design together.
Here's how I put my layout together:
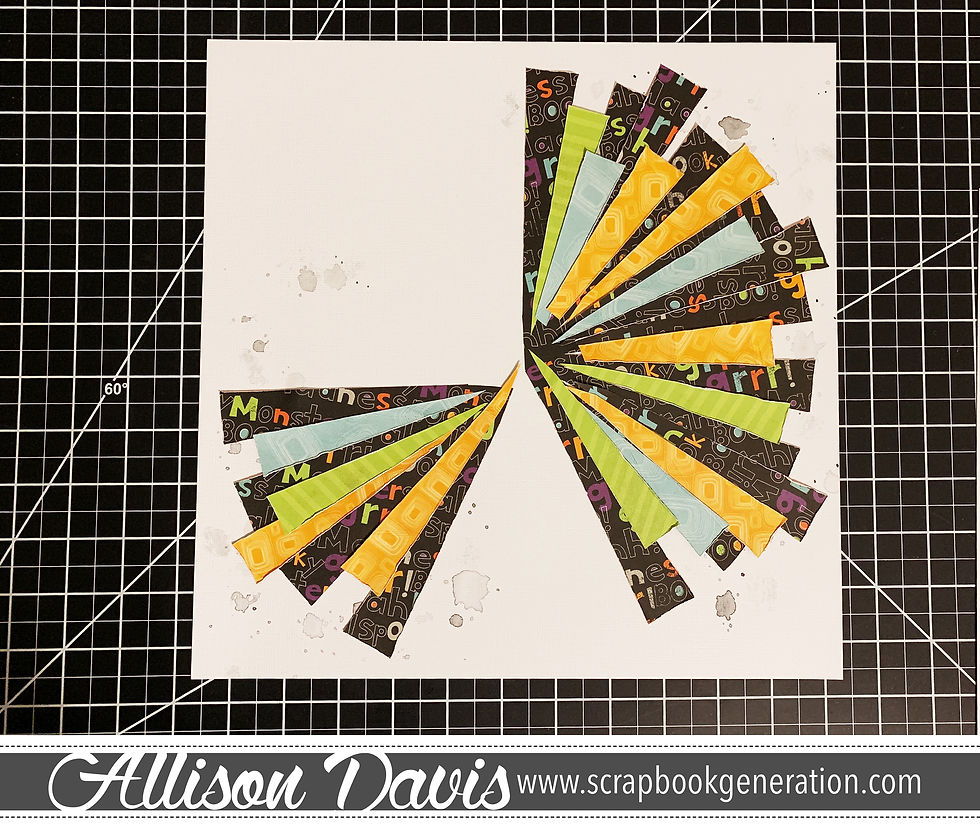
Step #1 - Cutting multiple sunburst designs.
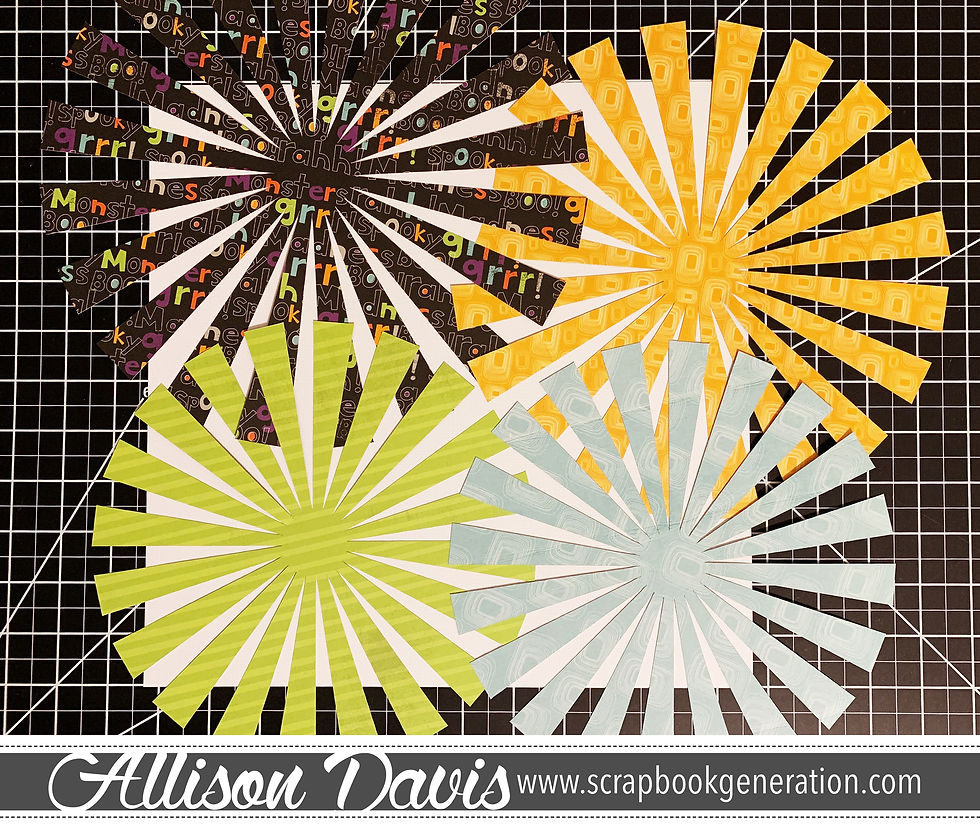
I cut four different sunbursts with my Silhouette. They are all different patterns in three different sizes.
If you don't have a die cutting machine you could cut individual strips.
Step #2 - Figuring out placement of the base layer.
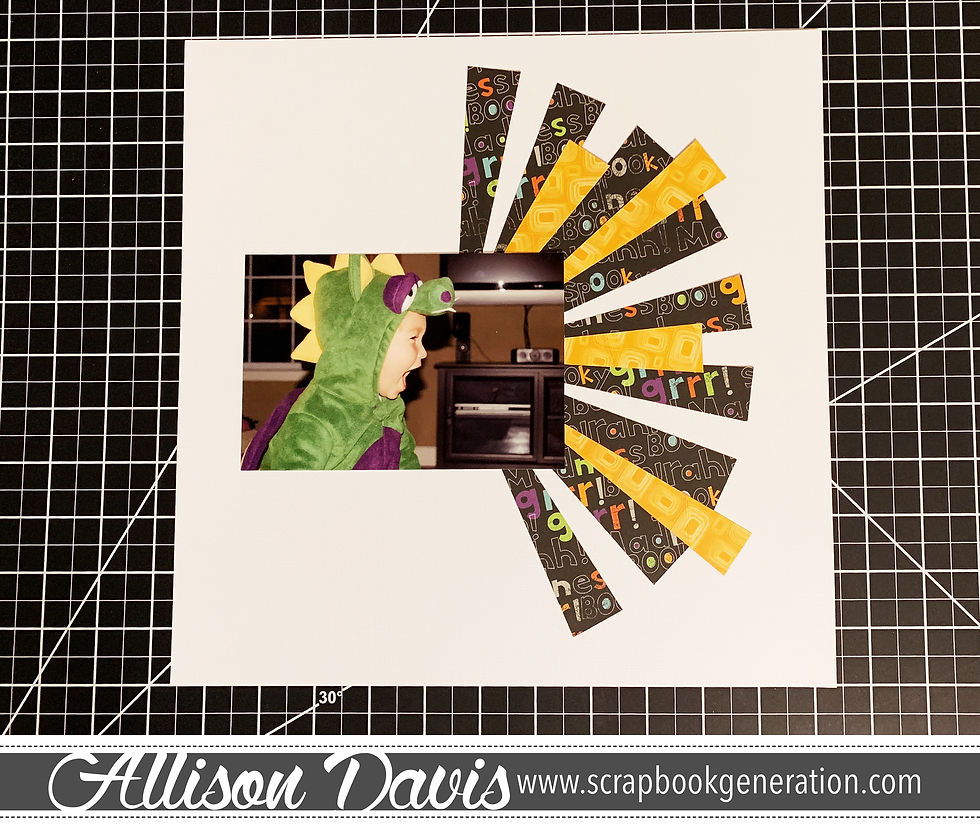
I only used one piece (the black patterned paper) that stayed in tact as my base layer. I wanted it to serve as a guide for placement of strips and to help me construct a well formed circle design. I cut it in half to create the bottom layer for the right side of the photo. I cut another partial piece for the left side (not shown in photo above.)
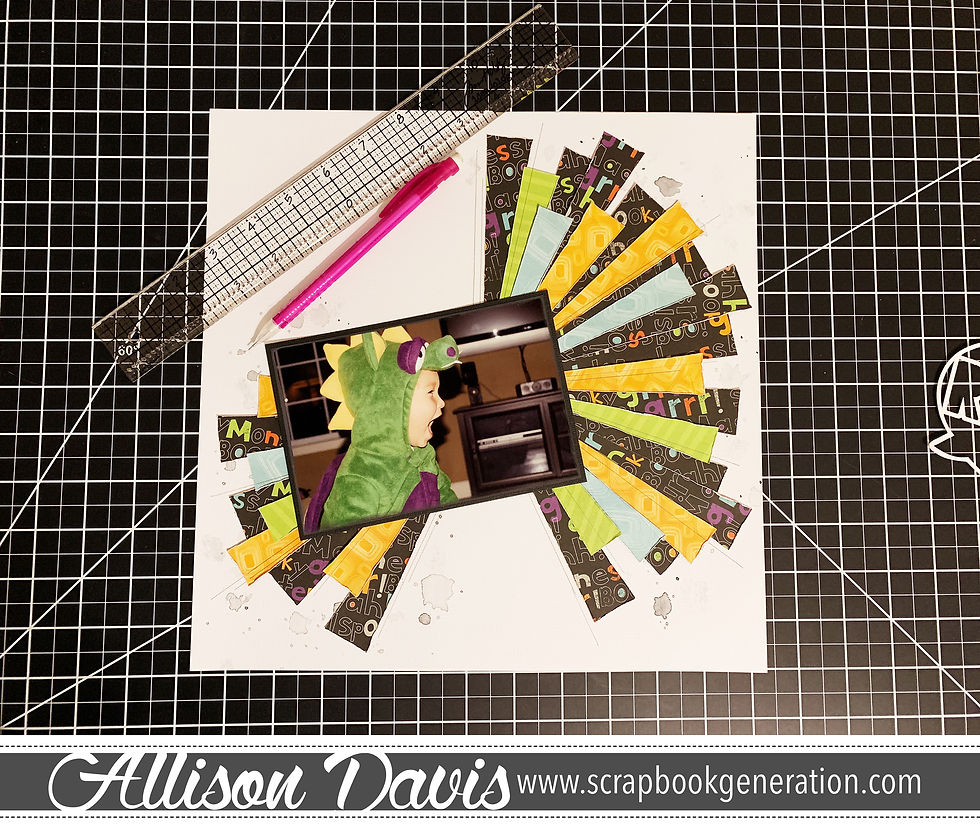
When creating a design like this I will generally figure out how I want everything placed before I adhere anything down. When you are ready to adhere it helps to have your phone nearby to snap a quick photo so you can see how everything is arranged.
Step #3 - Adding the rest of the strips.
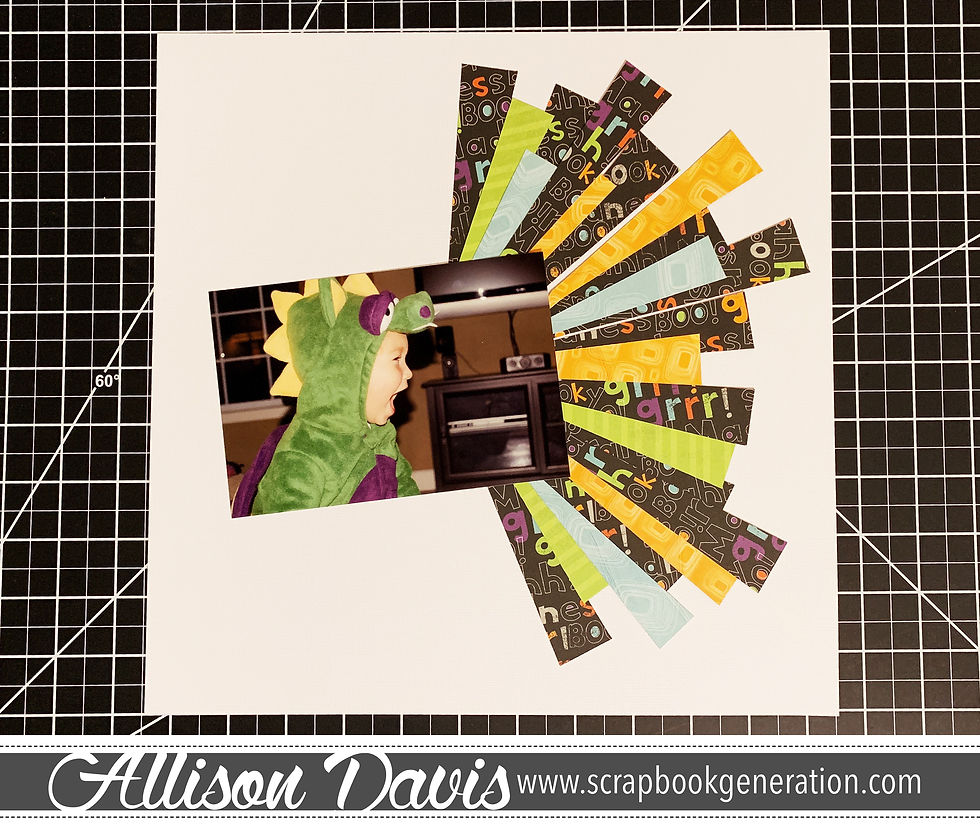
The rest of the sunbursts I cut out a few of the individual strips and layered them on top of the base layer.
Because I cut out individual strips I didn't need to cut out the whole sunburst design. However, I liked that using my Silhouette saved me lots of time and I ended up with uniform strips. Plus, I wasn't 100% certain how I was going to use the sunbursts when I cut them.
Step #4 - Adding the watercolor designs.
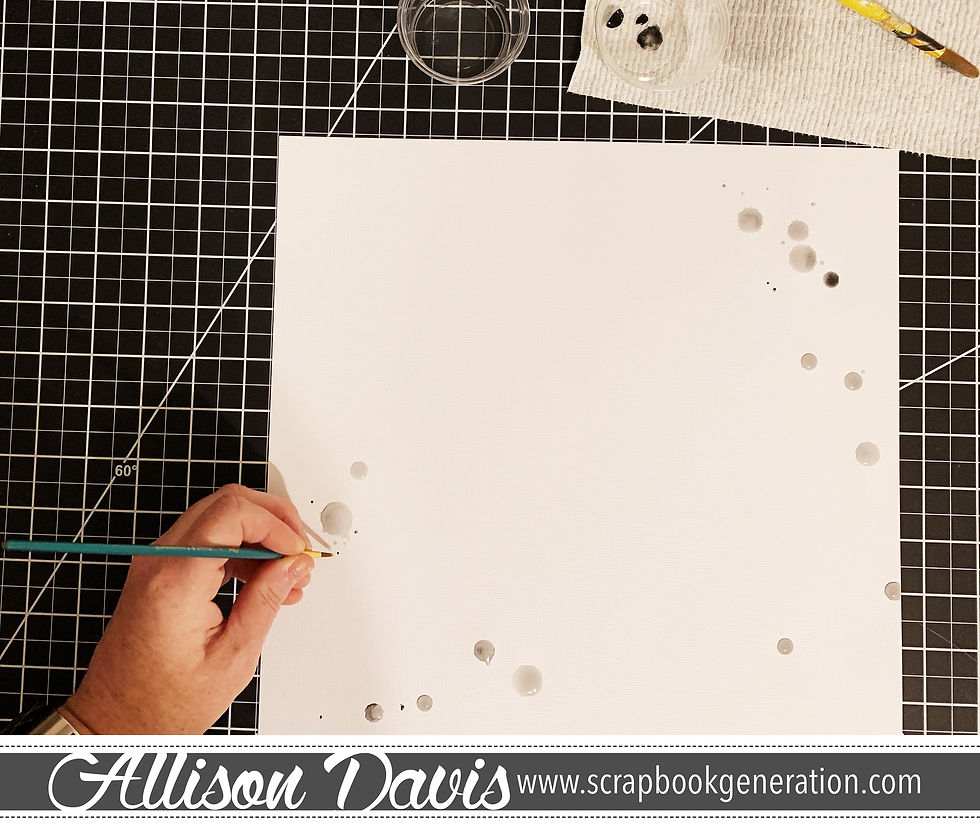
After I figured out the general placement of the sunburst design I could add some watercolor splotches around the outer edges of the design.
I did this using three different methods.
1. Using a larger brush, holding it above the paper, and letting the water drip off the end. It didn't splash as much as I wanted and since I wasn't using watercolor paper, it didn't really absorb into the paper. I used my brush to pull out the edges of the dots to create the splash look. I also didn't want to wait forever for the water to absorb into the paper so I used a small piece of paper towel to soak up the excess water. Which leads me to method number 2...
2. Dabbing the watercolor soaked paper towel onto the paper. This was purely experimental. I like playing around and seeing what different items and textures can do.
3. Using a small brush to add small dots.
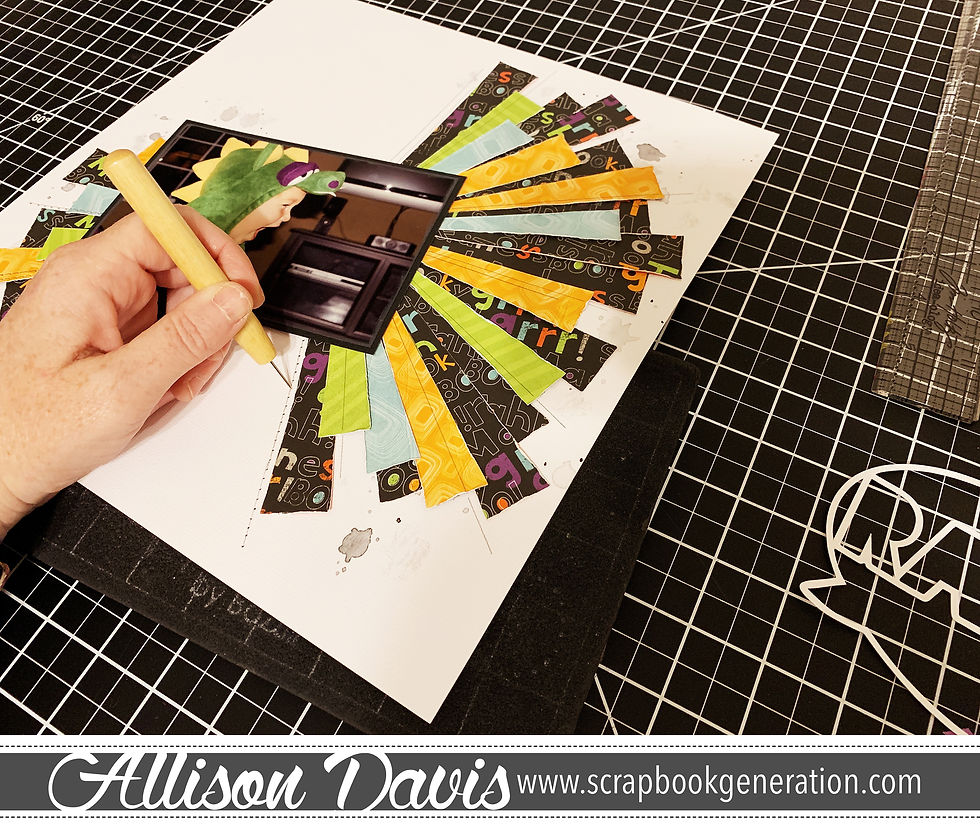
Step #5 - Distressing the edges and adhering.
While the watercolor was drying I distressed the edges of the strips. To do this I simply run my fingernail along the edges. You could also use scissors or a craft knife.
Step #6 - Adding the stitching.
I started by using a ruler and pencil to draw where I want my stitching lines to go. I always start the process of stitching from a pencil line. This way I can get a preview of what my stitching will look like before I poke holes all over my layout.
When I am satisfied with placement, I place my layout on a foam board and use a paper piercer to pierce the holes. I like my hole placement to be about 1/8-1/4" apart.
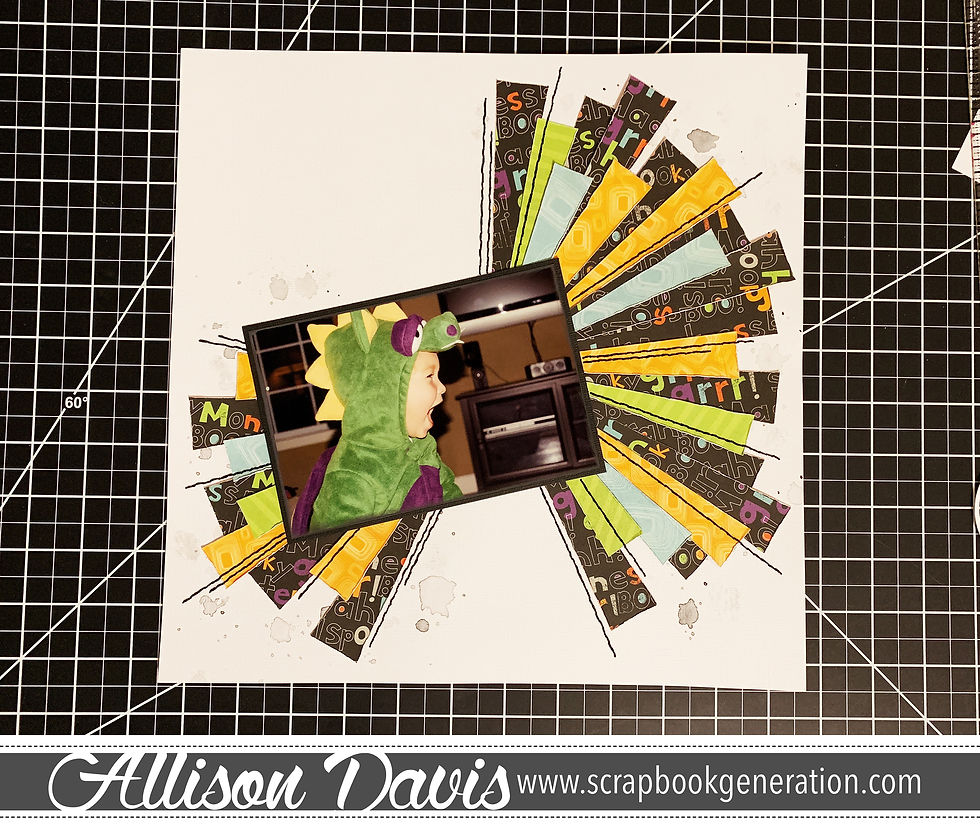
After the holes are pierced I erase the pencil lines and get to stitching.
Step #7 - Adding all the finish touches.
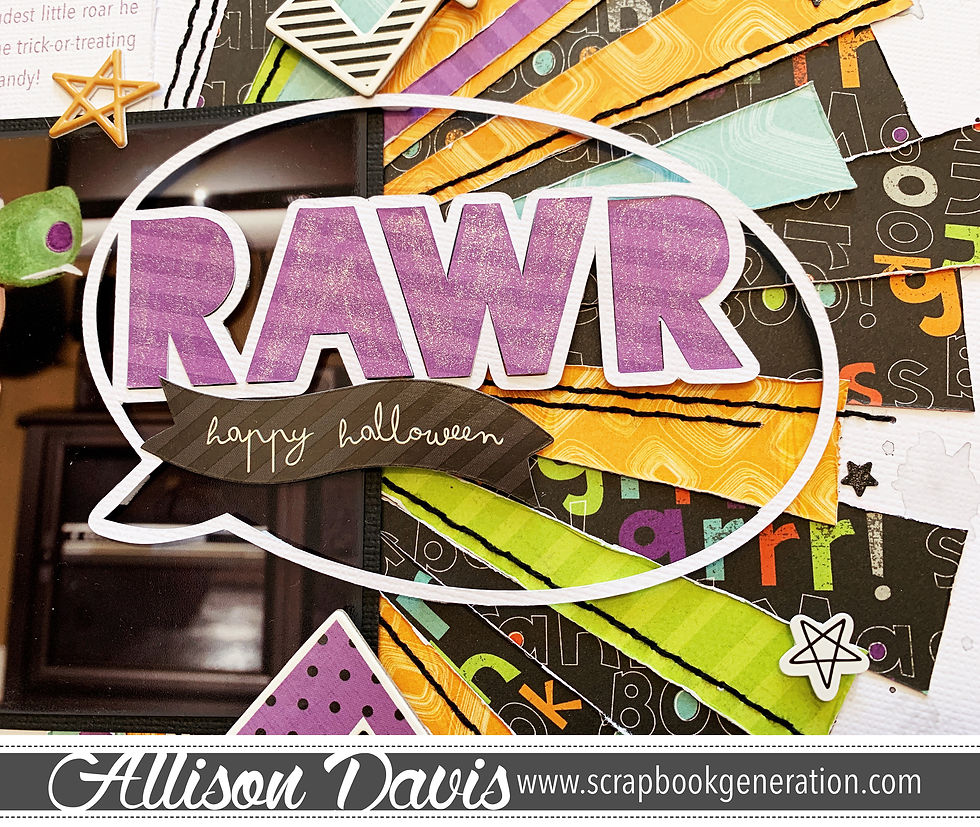
I created a "rawr" speech bubble frame with my Silhouette to highlight Drew's yelling and to use a my title piece.
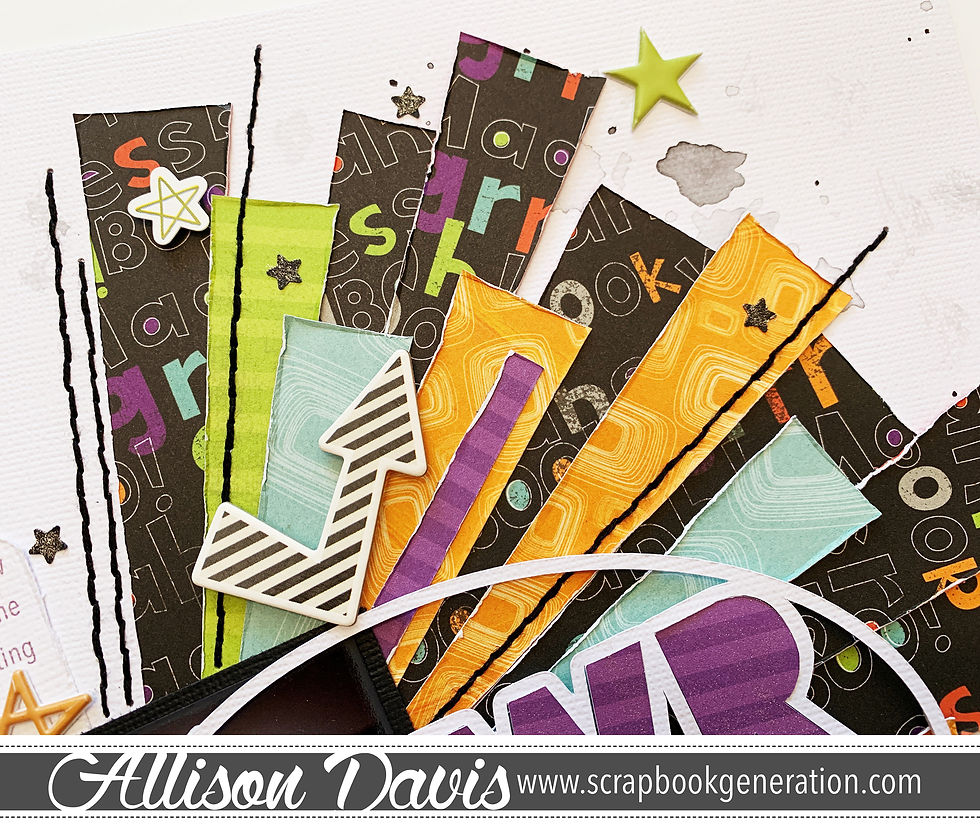
I added some chipboard arrows and a variety of stars around the sunburst design. Some of the stars are cardstock stickers, some from a punch, and some are puffy stickers.
And there you go! An easy layered sunburst design!
Supplies used: Cardstock: American Crafts; Patterned paper: Doodlebug Designs and Simple Stories; Chipboard arrows: Simple Stories; Star punch: Fiskars; Cardstock stickers: Simple Stories; Puffy star stickers: Bella Blvd.; Die Cutting Machine: Silhouette Cameo; Computer fonts: Blackout (rawr) and Ariel Condensed (journaling)


Comments