


Sketch Support #24 | Learn How to Use and Adapt Scrapbook Sketches | Day 2
- Allison
- Mar 29, 2022
- 3 min read

Once a month learn how to use scrapbook sketches and adapt them to fit different styles, photo sizes, and themes. Sketches = endless scrapbooking ideas with little effort. Sketches do all the heavy lifting allowing you to have all the fun!
With my second layout it was an interesting evolution from my original plan to the actual layout. It's funny how an idea can start small and suddenly it takes off and becomes a huge part of the design. I'll explain in more detail below...
Here is the sketch that I have used as the starting point for each layout this week:

You can also grab the Sketch Support #24 Bonus Sketch Examples!
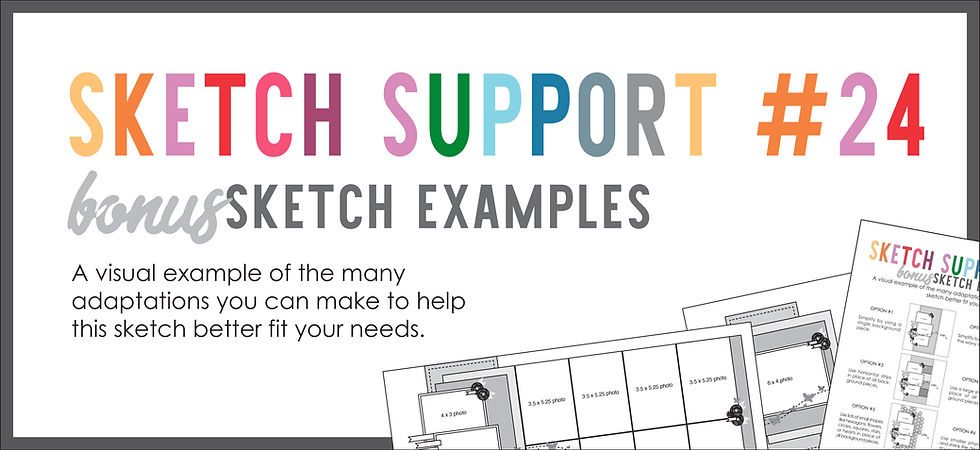
This month it is a 3-page PDF of 23 different sketch options. That makes 24 sketches for this month of Sketch Support. There are options that show how to change up the papers, use more photos, use less photos, use only 4 x 6" photos, there are four two-page options, and then an 8-1/2 x 11" option. The fun part is that you could use each option as a layout on its own, but you could also mix and match different options for endless possibilities!

Supplies - Cardstock: Bazzill; Patterned paper: Simple Stories, Pebble's Inc., and Echo Park; "Chill Out": Pebbles Inc.; Hose cut file: Snapdragon Snippets #26087 from the Silhouette Design Store; Droplet cut file: Amy Robison #83594 from the Silhouette Design Store; Stickers and die cuts: Pebbles Inc. and Simple Stories; Memory Thread: DMC; Fringe scissors: Martha Stewart; Nuvo Jewel Drops: Tonic Studios
Variation #1 - Using larger photos.
With this set of photos I had three 5 x 3" photos. There was no room for cropping since both of my boys fill up the whole picture. Luckily, there is plenty of room in this design to work in larger photos, especially wider photos. I kept the arrangement of the photos the same as you see on the sketch but I did make a small adjustment to the background papers...
Variation #3, #4, & #5 - Extending the width of the background |Combining all background pieces into one. | Adding a themed element into the design of the background.
It's much easier to explain all of these together!
Since I was working with photos that were wider than the photos on the sketch, I extended the size of the background. I wanted enough of that background to show so that you can really see the fringe/grass design that plays into my theme.
I also combined all three background pieces into one piece. This is a great way to simplify the sketch if you are looking for a quick layout. I personally did it to better fit the theme idea I had for my photos.
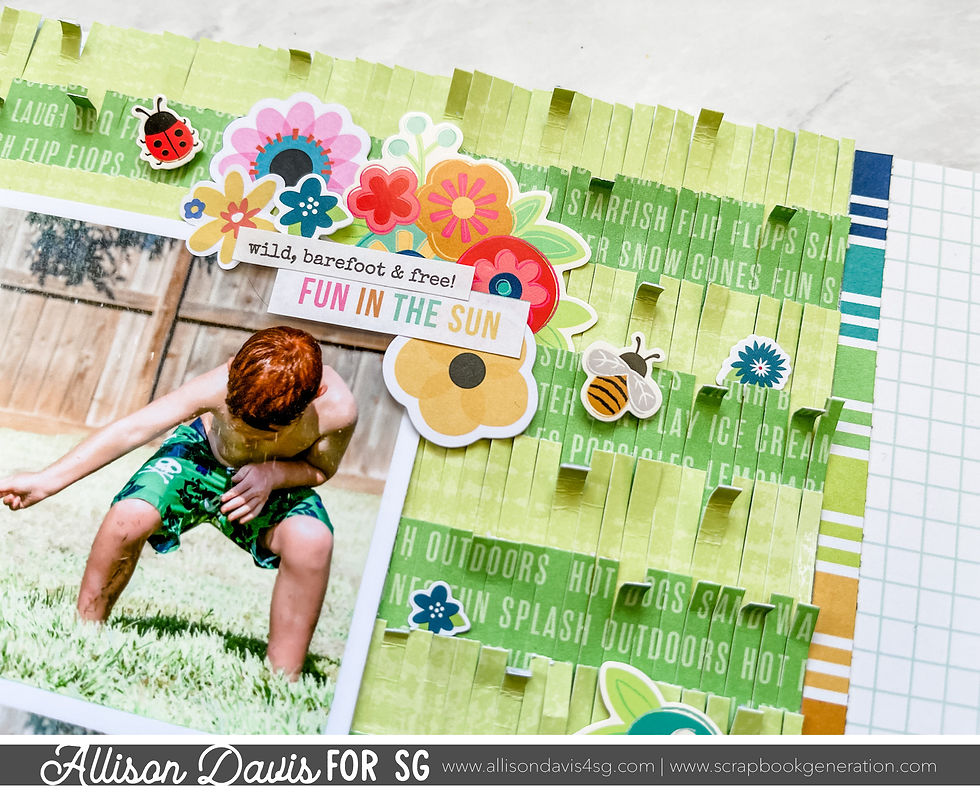
I knew right away with these photos that I wanted to create a scene for the background. My original plan was to have a few fringed strips of patterned paper at the bottom and then have a blue paper with clouds for the rest. But, the fringe strips ended up completely taking over and I used them to cover that whole background area. I loved the idea of going fringe crazy and the bright green background felt like a good compliment to my photos.
To help the fringe design stand out and look more like grass, I roughed up the edges and curled a few pieces down a little. I also added lots of flowers, bees, and ladybugs throughout that background.

Variation #6 - Using a themed element in place of the wavy line.
The whole reason I selected these photos is that I was dying to create a hose spraying water for that wavy line detail.
I used a light gray cardstock for the hose and used a stencil and some ink to add a pattern on it. The outside of a hose usually has some texture so I wanted to create the illusion of that. Then I used a darker, glittery gray cardstock for the nozzle of the hose. To add even more detail I wrapped some Memory Thread around the end near the nozzle. (Memory Thread is craft wire that has been coated in thread. I don't believe they make it anymore which is a big bummer because I love it!)

I also arranged my title along the wavy hose instead of on the small title on the left like you see on the sketch.
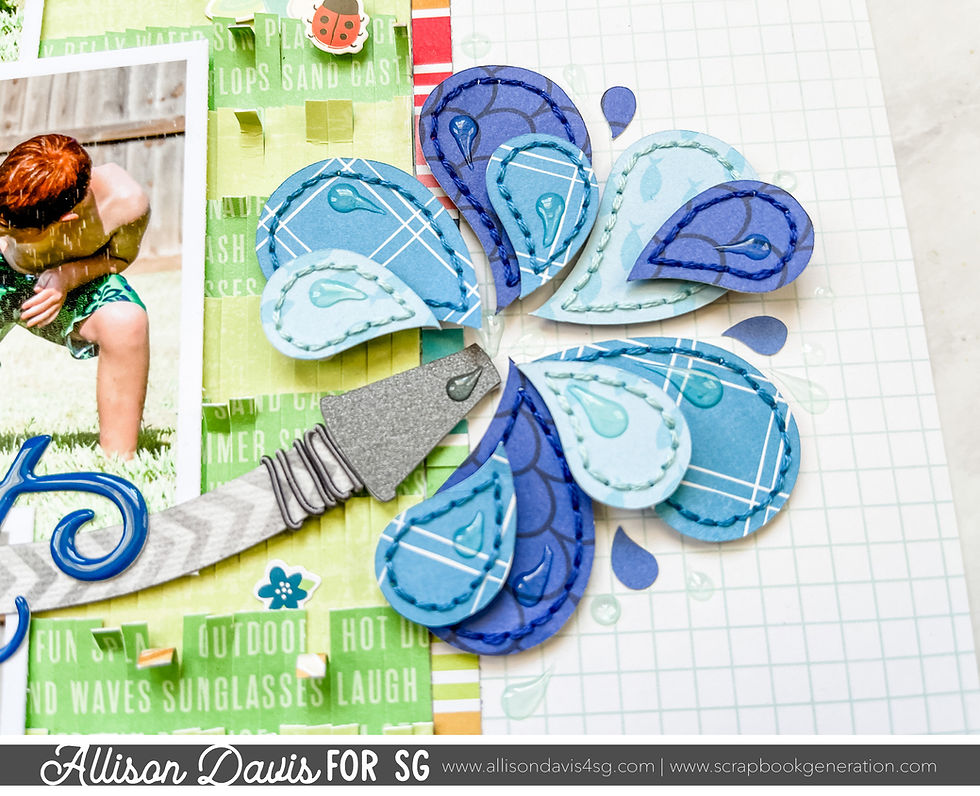
For the splashes I used my favorite droplet cut file with three different shades of blue patterned paper and in several sizes. I added a hand-stitched border to the larger ones and layered them with foam adhesive for some dimension. To finish the look I added several Nuvo Jewel Drop droplets using my go-to color for water pages, Sea Breeze.
That's it for today! Be sure to check back tomorrow for another layout using this sketch!
Want to see more? Find me on...


In addition to a self-starting detent tourbillon, the watch has a moonphase and zero-reset link hack seconds, which resets link the seconds to 12 o'clock when the link crown is pulled out, allowing precision time-setting.
The First link Rolex SubmarinerThe water-resistant Oyster-case with a screw-down crown and the self-winding movement for wristwatches are ingredients of the Rolex Submariner that we own to Rolex link founder and president Hans link Wilsdorf.
Adoro tus layout con tematica agua, siempre son espectaculares!!!!!! Definitivamente uno mas lindo que el otro. Amazing!!!!