
Sketch Support #13 | Learn How to Use and Adapt Scrapbook Sketches | Day 3
- Allison
- Sep 23, 2020
- 5 min read

Once a month learn how to use scrapbook sketches and adapt them to fit different styles, photo sizes, and themes. Sketches = endless scrapbooking ideas with little effort. Sketches do all the heavy lifting allowing you to have all the fun!
Day 3 brings another way you can alter than fun sunburst design. This layout gave me a fit and definitely had me struggling a little, but it all came together in the end.
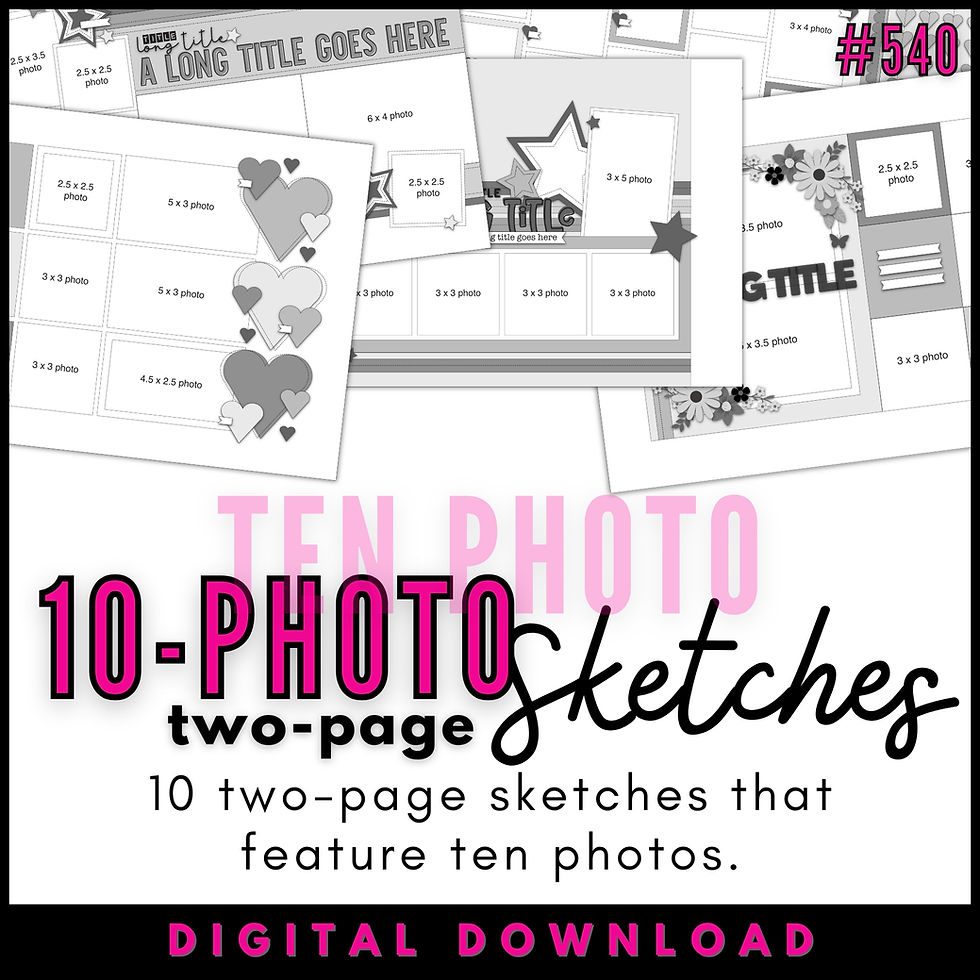
Here is the two-page sketch I used as the starting point of each layout I'm sharing this week.

You can also grab the Sketch Support #13 Bonus Sketch Examples!

This month it is a 3-page PDF of 22 different sketch options. That makes 23 sketches for this month of Sketch Support. There are options that show how to change up the papers, use more photos, use less photos, use only 4 x 6" photos, there are three one-page options, and then an 8-1/2 x 11" option. The fun part is that you could use each option as a layout on its own, but you could also mix and match different options for endless possibilities!

Supplies used - Cardstock: American Crafts; Patterned paper: Echo Park; Stickers: Echo Park and Paper House; Foam letter stickers: American Crafts; Star punches: Fiskars; Baseball stitching cut file: Jennifer Wambach from the Silhouette Design Store; Embroidery floss; DMC; Computer font: Century Gothic
Variation #1 - Flipping the sketch
I flipped the sketch so that the sunburst on the left side of the sketch is on the right side of my layout. I did this because most of my photos have my son, Jackson, facing to the right and I didn't want him facing off the layout.
Generally, this is my biggest reason for flipping a sketch. Anytime you have a photo with a subject looking off the layout, it can pull the viewers attention off the layout which is the opposite of what you want to do. Sometimes it's unavoidable, you are going to have people in photos looking off the layout. You can't always fix that, but when I can correct it, I will.
Variation #2 - Using a large shape in place of a large background.
I really loved the idea of using a large shape and creating that sunburst design on it. I knew the second I decided to use this sketch that I wanted to make that idea happen!

I created this large star sunburst out of multiple patterned papers and then added lots of hand-stitching to the seams of each paper and around the whole star.
Creating a sunburst on a shape is a lot easier than you might think. All you have to do is start with a large shape of your choice. I like to create a template out of cardstock first, then draw my lines for the sunburst pieces with a ruler, and cut and use each piece as a template. If you want to simplify it a little you can cut your shape out of two patterned papers, on one of them draw your lines, and then only cut out every other sunburst piece. Then you can layer the sunburst star on top of the second star.
Try this with many different shapes like:
• star
• heart
• hexagon
• diamond
• circle
• triangle
Variation #3 - Changing the photo block to better fit my photos and the layout design.
For this set of photos I had mostly 3 x 4" photos. Since they have an extra inch of height I only have two rows of photos within my block instead of the three rows on the sketch. I still followed the sketch by having a photo mat for three of the photos.
To help this photo block better fit with the design, I made a few changes. First I added two photos on the right page with the sunburst design. I have the star going off the right edge and that leaves a big gap between the left points of the star and the photo block. I wanted those two elements to stay close to each other so adding a few photos on the right page was an easy fix to that.
My second change was adding the 4 x 4" cards into the photo block. Cards are a wonderful way to fill in empty spaces if you don't have enough photos or if you just want to break up the photos a little bit. I love using cards within a photo block! I used them on this layout to help me stretch the photo block towards the left edge. I like having equal margins around a photo block and adding in those 4 x 4" cards gave me that.
Speaking of margins, that leads me to the next variation...
Variation #4 - Adding extra elements to support your theme or the design.
I mentioned at the beginning of this post that I struggled with this layout. This layout say on my work space for two days and for two days I was not happy with the finished result. When I had first finished this layout it was just the large sunburst star and the photo block with the baseball stitching and baseball stickers
My perfectionist, OCD need for balance was eating at me. On the right page I had this star going off the layout, but the rest of the layout didn't seem to balance with that. It was probably just fine, but I kept coming back to it and telling myself it needed something more. To get my brain to shut up about it, I decided I was going to have to fix this unbalanced look or else I was going to drive myself crazy!
My solution was to add a large cluster of stars going off the left edge in the bottom corner of the photo block. Adding that almost instantly made me feel better and like I had achieved the balance I was looking for.

But, I didn't stop there. I added a little cluster of stars at the opposite corner of the photo block and another near my title. This gave me that visual triangle that completely balanced the layout.


To add more detail to these star clusters I added some baseballs punched out of a patterned paper and some teeny tiny punched stars.

Variation #5 - Using photo sizes that better fit what you have.
I used a 4 x 4" and 2 x 2" photo in place of the two 3 x 4" photos on the sketch. The two photos that I had left over after I had completed my photo block were a 4 x 6" photo and one more 3 x 4" photo. I cropped the 4 x 6" photo down to a 4 x 4" and then cropped the 3 x 4" down to a 2 x 2". I wanted my photos to be the focal point, but I didn't want them to be too large and cover up most of the star. These sizes felt like a good balance of that. They are large enough that you completely see the subject, but small enough that you see the star design too.
That's all for today! Check back tomorrow for day #4!
Want to see more? Find me on...


The one big trump card that link Apple still holds over the rest of the smartwatch contenders is that it can fully replace your link cell phone in short intervals. You link can answer an urgent phone call via your watch, and then have everything else completely turned off and buttoned up.
It's an apt link name, and as I approach the glass to survey the scene I'm met by trays link of barcoded Rolex watches, all passing various link stages of assessment. A largely automated process in terms of the progression from one stage of certification to the next, the small trays present any of Rolex's references for in-depth considerations of power reserve, precision, automatic winding performance, and of course, water resistance.
Thank you so much, Peggy!
Very cool layout Allison! Again, it's paying attention to the little details that really makes your layout so special. Love it!