
Sketch Support #33 | Learn How to Use and Adapt Scrapbook Sketches | Day 1
- Allison
- Jun 26, 2023
- 3 min read

Once a month learn how to use scrapbook sketches and adapt them to fit different styles, photo sizes, and themes. Sketches = endless scrapbooking ideas with little effort. Sketches do all the heavy lifting allowing you to have all the fun!
It's time for another week of sketch fun! That means another free sketch, four layouts, and a YouTube video! I always love this week so much!
This month there is a free two-page sketch and it's a photo heavy one with twelve photos! There's a large photo block that is so easy to customize to any amount or arrangement of photos you might have.
Here is the sketch that I have used as the starting point for each layout this week:

You can also grab the Sketch Support #33 Bonus Sketch Examples!

This month it is a 3-page PDF of 22 different sketch options. That makes 23 sketches for this month of Sketch Support. There are options that show how to change up the papers, use more photos, use less photos, there are three one-page options, and then an 8-1/2 x 11" option. The fun part is that you could use each option as a layout on its own, but you could also mix and match different options for endless possibilities!

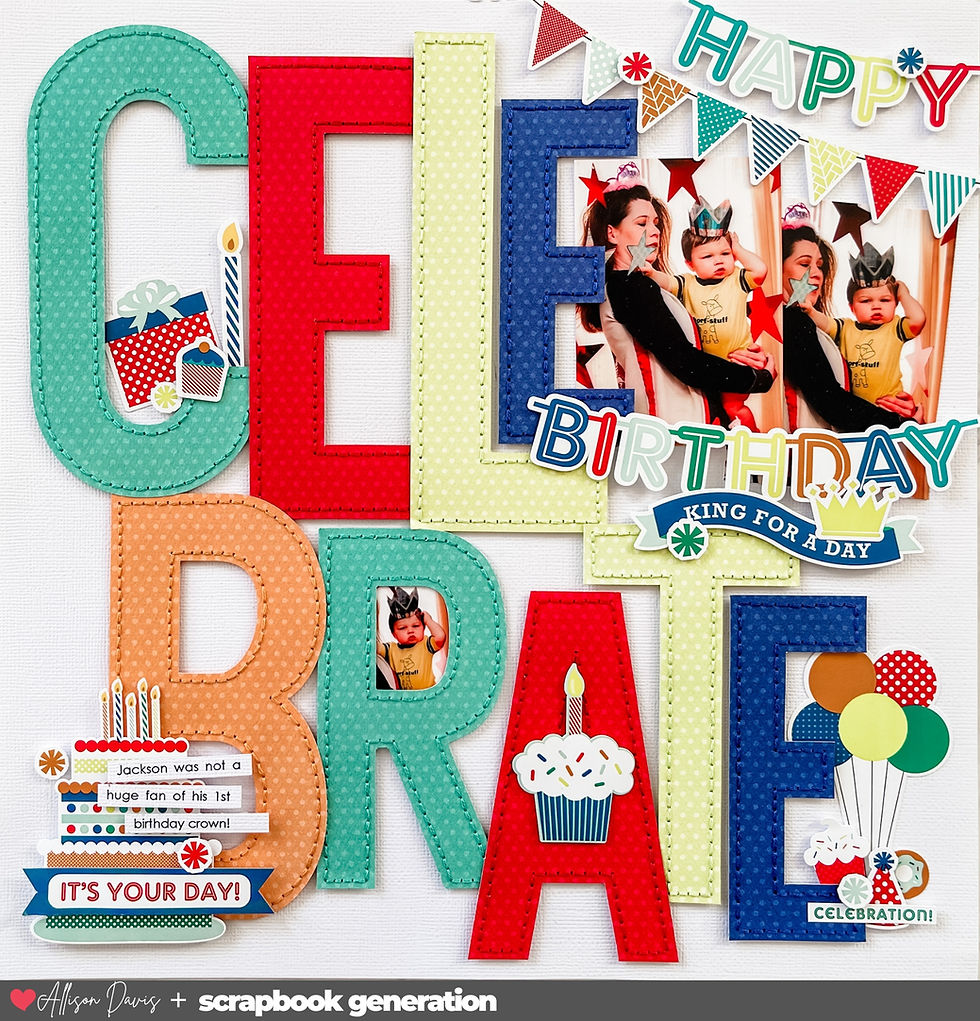
Supplies used - Cardstock: American Crafts; Patterned papers: My Mind's Eye, Echo Park, BasicGrey, and Simple Stories; Chipboard alphabet: We R Memory Keepers; Alphabet stickers: Elle's Studio; Arrows: Simple Stories, My Mind's Eye, Bella Blvd., and Echo Park; Wooden pieces: My Mind's Eye and unknown; Computer font: Century Gothic; Word/phrase stickers: Simple Stories; Embroidery floss: DMC
Variation #1 - Adding more photos & changing the photo arrangements.
Twelve photos is a lot, but I had even more to use so I made some adjustments to accommodate that. The first thing I did was add another column of photos to the left side, extending the photo block to the left edge of the layout. On the sketch they are all 3 x 3" photos, but since I was removing some of the patterned paper on that side of the layout, I decided to add some patterned papers into the photo block. I did this by adding 3 x 3" photo mats and used 2-1/4 x 2-1/4" photos.
One of the things I love about large photo blocks is that you can easily adjust them to fit different amounts, different sizes, and different orientations of photos. I had several vertical photos so I had to make some adjustments to work those in. I ended up replacing the top 4 x 6" and 5 x 3" photos with three 3 x 6" photos.
I also used two vertical photos on the right page in place of the three 4 x 3" photos.

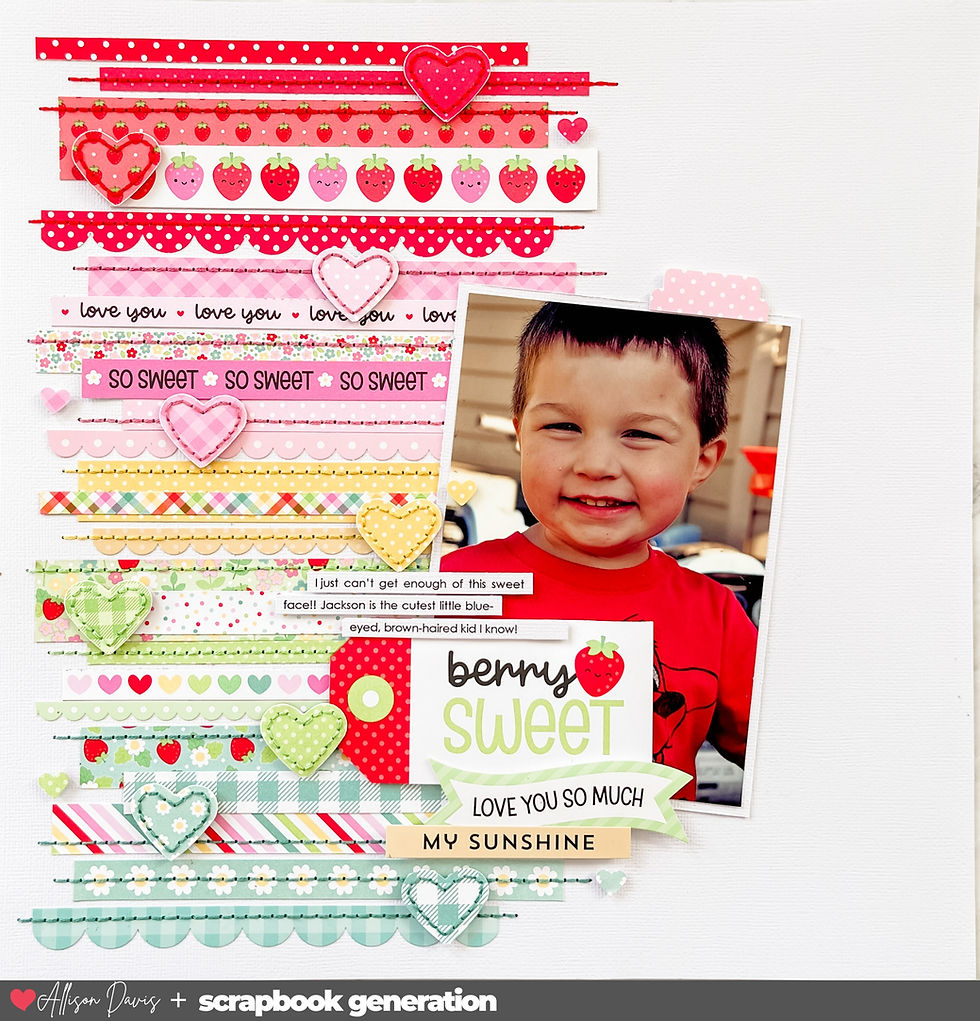
Variation #2 - Using a decorative style vertical strip.
Originally I had thought about using arrows in place of the strips, but when I was going through my cut files I saw these chevron strips and really liked the look of them. I had also thought about overlapping them, but in the end I liked them side by side better. They are only about 3/4" wide so when they were overlapped there wasn't a whole lot showing.

Instead I added a stitched border on just the right edges in hope that it would kind of appear that they were overlapped.
Variation #3 - Adding more detail to the photo block.
Since I extended the photos and ended up with such a large part of the layout covered in photos, I thought it would be fun to add lots of detail to those photos to add some interest there.

I used arrows, frames, and word stickers throughout the photo block design.

That's all for today! Be sure to check back tomorrow to see another layout using this sketch!
If you enjoy using sketches and want to learn how to adapt and customize them, I have a new guide called Creating With Sketches. It's goes in depth of how I breakdown a sketch design and adapt to work with my needs. It covers everything you need to know about making sketches work for you.

Shop all sketches here: Allison Davis Sketches
Want to see more? Find me on...

One detail the Vacheron does get right is the moonphase. While it's a vibrant, dark blue just like the AP, look closer and you'll notice link it's something better: lapis lazuli. It's one of those link beautiful details you only pick up on link after you've admired the watch on your wrist for a few minutes and gotten past the skeletonization of it all.