
Sketch Support #33 | Learn How to Use and Adapt Scrapbook Sketches | Day 3
- Allison
- Jun 28, 2023
- 3 min read

Once a month learn how to use scrapbook sketches and adapt them to fit different styles, photo sizes, and themes. Sketches = endless scrapbooking ideas with little effort. Sketches do all the heavy lifting allowing you to have all the fun!
For my third layout using this sketch, I made big changes once again. I had less photos that I needed to arrange a little differently due to sizes and orientation. And, I had a fun theme idea I want to do.
Here is the sketch that I have used as the starting point for each layout this week:

You can also grab the Sketch Support #33 Bonus Sketch Examples!

This month it is a 3-page PDF of 22 different sketch options. That makes 23 sketches for this month of Sketch Support. There are options that show how to change up the papers, use more photos, use less photos, there are three one-page options, and then an 8-1/2 x 11" option. The fun part is that you could use each option as a layout on its own, but you could also mix and match different options for endless possibilities!

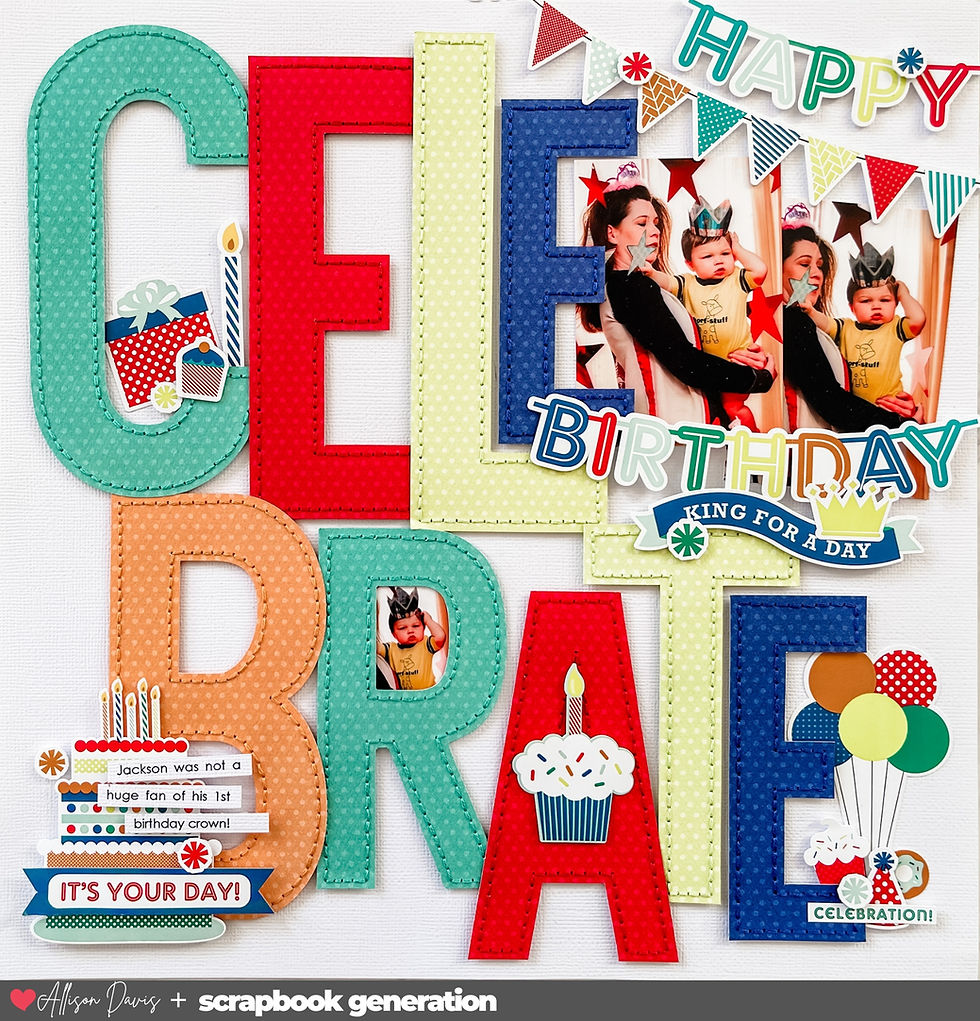
Supplies used - Patterned papers: Simple Stories and Bella Blvd.; "Birthday" title: Color Cast Designs; Alphabet stickers, die cuts, word/phrase stickers: Simple Stories; Glitter paper: DCWV; Computer font: Century Gothic; Embroidery floss: DMC
Variation #1 - Adjusting the large photo block to work with different photos.
With this set of photos I had mostly 3 x 3" photos so I had to come up with a different plan for the large photo block. That's one of the things I enjoy about large photo blocks, you can easily readjust and adapt to the photo sizes, amount, or orientation to better fit.
For the photo block I used two 5 x 3" photos, three 3 x 3" photos, and then cut two photos down to 2-1/2 x 2-1/2" so I could add a 3 x 3" mat. Anytime I am arranging photos into a large block, especially when the photos are similar, I like to add a few mats in there to help the photos stand out.

My photo block doesn't go to the top and bottom edges and ends up a little closer to the left edge of the layout. This worked out well for another detail I wanted to adapt to the theme.
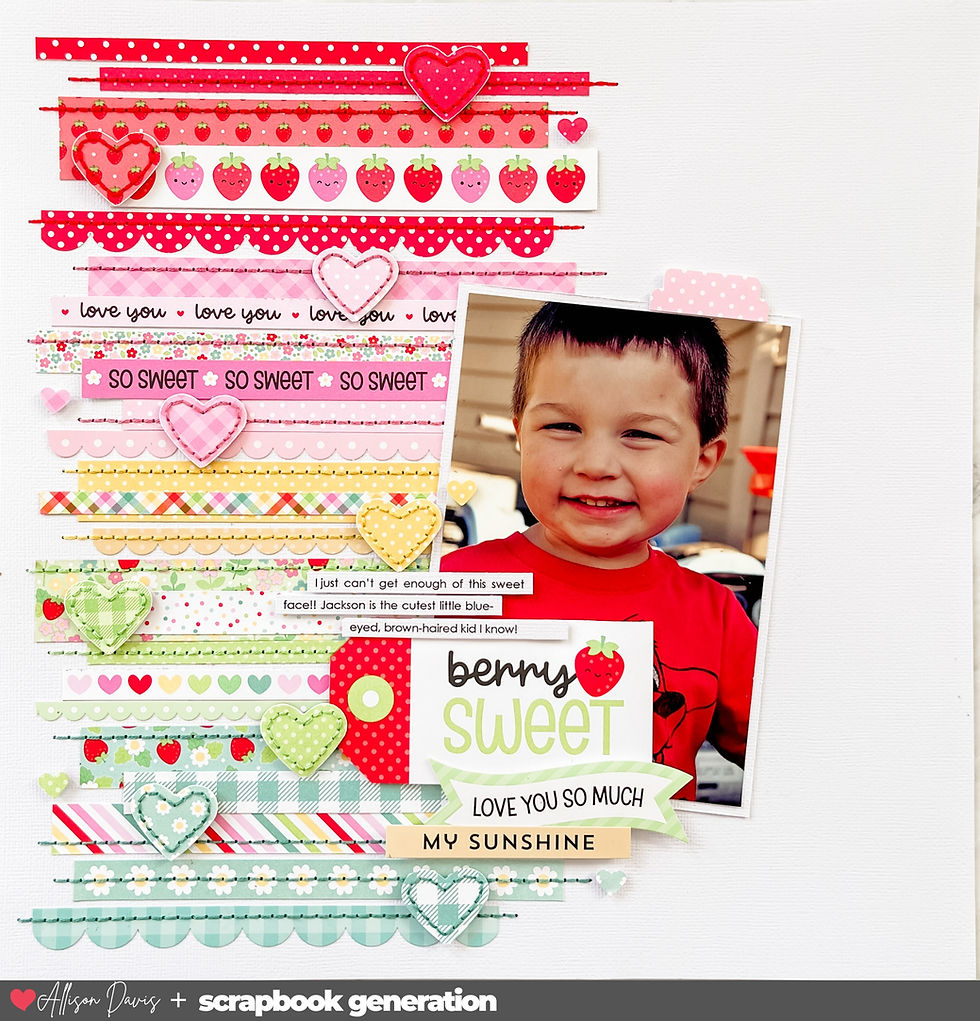
Variation #2 - Extending the strips to the left and right edges of the layout.
On the sketch the strips are just on the edges of the large photo block, but since my photo block doesn't go to the top and bottom edges, I thought it would be fun to extend them all the way across the layout, creating a background for the large photo block as well.

Variation #3 - Using all 1" strips.
The sketch has both 1" and 1/2" strips, but I decided to use all the same size. This worked a little better of the theme idea.

Variation #4 - Turning the strips into a themed element.
Since I was working with birthday photos, specifically birthday cake photos, I thought it would be fun to work an element from the photos into the theme. I turned the strips into birthday candles by adding a stitch "wick" and a star at the end for the flame.

I used a chain link stitch for the wick to really make it stand out and look a little more realistic and recognizable as a candle.

That's it for today, but tomorrow I'll be sharing another!
If you enjoy using sketches and want to learn how to adapt and customize them, I have a new guide called Creating With Sketches. It's goes in depth of how I breakdown a sketch design and adapt to work with my needs. It covers everything you need to know about making sketches work for you.

Shop all sketches here: Allison Davis Sketches
Want to see more? Find me on...

The '90s were the link last great era of print media. Today, print advertising link has taken a back seat to digital advertising, and that's alright. The good news is that there are still plenty link of great ads out there from the '90s that shed some light on not only what brands were doing, but what the watch-buying public was thinking.