
Sketch Support #8 | Learn How to Use and Adapt Scrapbook Sketches | Day 5
- Allison
- Apr 24, 2020
- 3 min read

It's tradition to always show how you can take a one-page sketch and turn it into a two-page layout.
Here is the sketch that I am using a starting point for each layout this week.

You can download the full sketch with measurements and placements here.


Supplies used - Cardstock: American Crafts; Patterned paper: Pebbles Inc; Stickers: Pebbles Inc.; Tires cut file: Snapdragon Snippets; Cloud cut file: Sarah Bailey; Star punches: Fiskars; Alphabet stickers: American Crafts; Nuvo Drops: Tonic Studios; Embroidery floss: DMC; Computer font: Century Gothic
Variation #1 - Extending the one-page sketch into a two-page layout.
Since the photos on the sketch are arranged in a straight line from left edge to right edge, extending this sketch was really easy. All I had to do was continue the line of photos from the left edge of the left page to the right edge of the right page.
Variation #2 - Use different photo sizes.
One of my favorite photo sizes to use are 3 x 5" photos. What I like about them is that they aren't that much smaller than a 4 x 6" photo so I can usually crop them from a 4 x 6" print. The best part is that they still fit evenly on a 12 x 12" paper as the 4 x 6" photos do AND you can squeeze in an extra photo. With 4 x 6" photos you can only fit three photos across a 12 x 12" page. With 3 x 5" photos you can fit four.
For those of us that have tons of photos and want to include more, this is one of the best alternatives to using 4 x 6" photos!
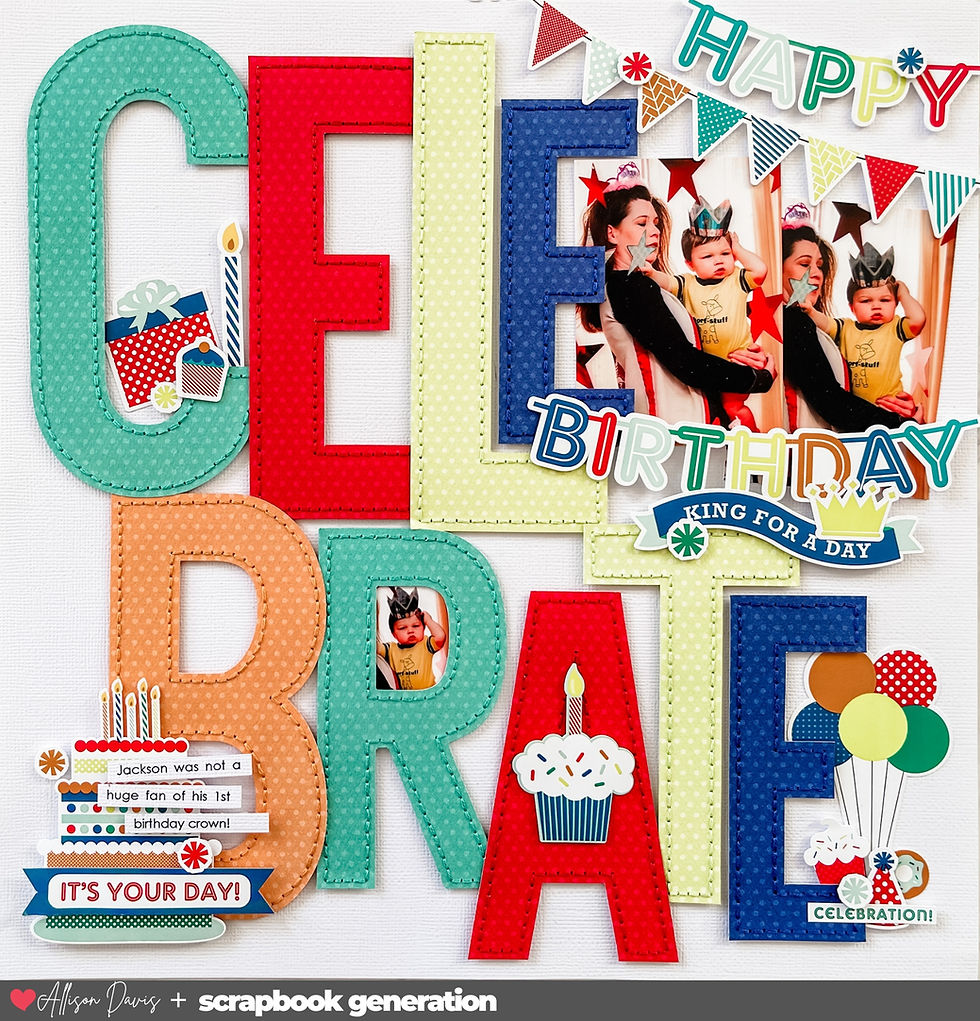
Variation #2 - Highlighting a favorite photo by using an enlargement.
I love adding large photos to my layout when I want to highlight a favorite photo. This sketch gave me an easy opportunity to do that. Since I used 3 x 5" photos, I could remove two and add a 5 x 7" photo with a 6 x 8" mat to fill in that space. An enlargement and a large mat really makes that photo stand out!
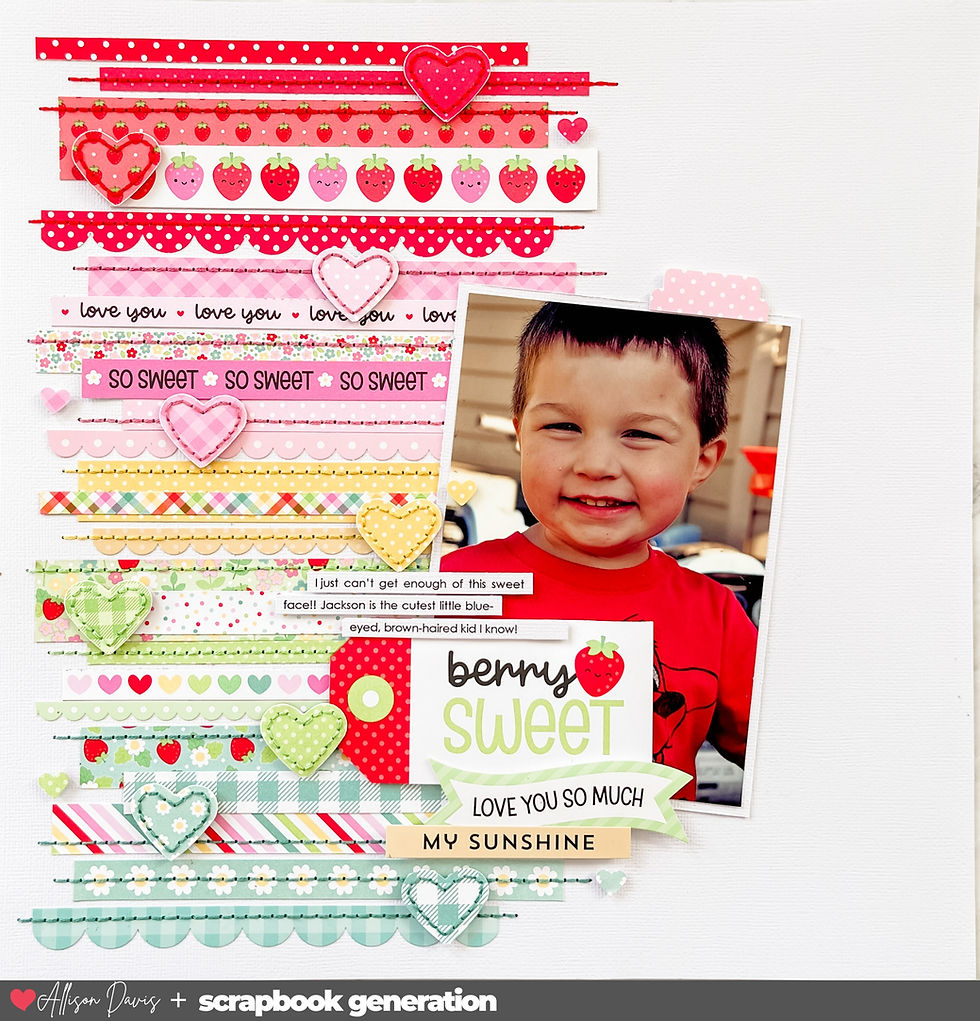
Variation #3 - Add more strips.
On the sketch there is just the one strip below the photos. For my layout I had the idea that it might be really cute to create a road along the bottom and add some car stickers "driving" on the road.

Then I thought to balance that, I could create a sky above my photos.
Since my 6 x 8" photo mat sticks out above and below the rest of the photos, I thought I would fill in that space with my strips. To do that I added a 1-1/2" strip above and below the photos. On top of that I added a road strip on the bottom and a cloud/sky strip on the top. To finish I added striped strip above and below everything.
Variation #4 - Mixing up the circles to tie to your theme.
I used tire die cuts to create my little cluster of circles on the bottom of the left page. I also added in my title, some word bubbles, and some stars.

On the top of the right page I included my journaling block and some stars, clouds, and a plane sticker to complete that "scene" on my layout.

That brings us to the end of this week, but I've still got one more layout to share with you and a new YouTube video coming up next week. Check back on Monday and Tuesday!
Want to see more? Find me on...

To link discover the exquisiteness of our planet, you just need link to link head outside, cast your daily routine aside a little and go immerse yourself in nature, breathe fresh air under the canopy of a forest, caress the earth, collect a few pebbles, dip your feet into the waters of a lake.
AP worked with the La link Chaux-de-Fonds-based dial maker Someco to carve the dial out of a single black onyx stone. The dial is first cut into a thin disc, ground, sanded, and polished before ending up in the two-tone case. Each dial is naturally unique, link which means that there is potentially endless room for aesthetic variation. The Code 11.59 Flying Tourbillon with a link black onyx dial is not a limited edition release.