
Sketch Week #4 | How to Use and Adapt Scrapbook Sketches | Day 3
- Allison
- Nov 21, 2019
- 3 min read

Once a month learn how to use scrapbook sketches and adapt them to fit different styles, photo sizes, and themes.
The last day of Sketch Week and the last layout for the week. I actually make a little pouty face when I type that out.
Just case you missed the first two layouts you can click below to check them out.

You can download the full sketch with measurements and placements by clicking here.

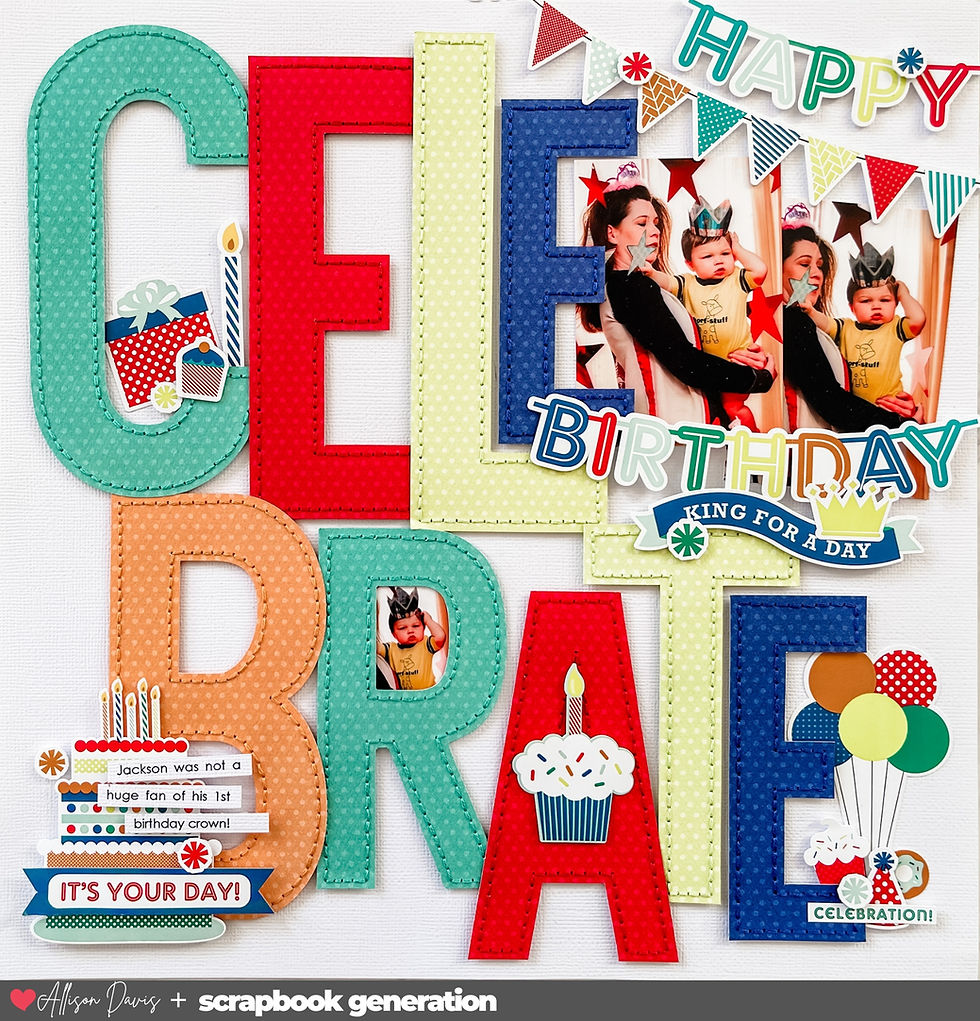
The inspiration for this layout came from the sketch and finding a way to incorporate that large "happy fall" die cut piece.
Variation #1 - Extending a one-page sketch into a two-page layout.
The biggest noticeable difference is that I used the one-page sketch to create a two-page layout. Never, ever, ever, EVER, let the size of sketch deter you from using it. You can turn a one-page sketch into a two-page layout. You can turn a two-page layout into a one-page layout. You can even use a card sketch or an 8-1/2 x 11" sketch and make it work on any size, any format, ANYTHING you want.

In the case of this layout, I created a two-page layout by extending the photos. Anytime you want to use a one-page sketch for a two-page layout, extending the photos across is a super easy way to do it.
Variation #2 - Flip the elements.
I have been itching to use one of many of these large leaf and fall die cuts in the Silhouette Design Store. I made the choice that this layout was going to be it, but I had to make a little switcheroo with some of the elements on the sketch.

I switched the journaling cluster and the title cluster. This gave me more room for the die cut AND my photos. I loved the way the die cut perfect framed around the photos.
I also added a smaller leaves die cut to the bottom right corner by the journaling block.
Variation #3 - Moving elements to fit.
Because of the large die cut, I had to move my photos down on the page. The sketch has those long strips for a background and smaller photos so I had quite a bit of room to adjust and move things if needed without having to worry about messing up the design of the strips.

Side note: I couldn't resist adding some stitched swirls around the leaves. That whole die cut just screamed "leaves in the wind" to me.
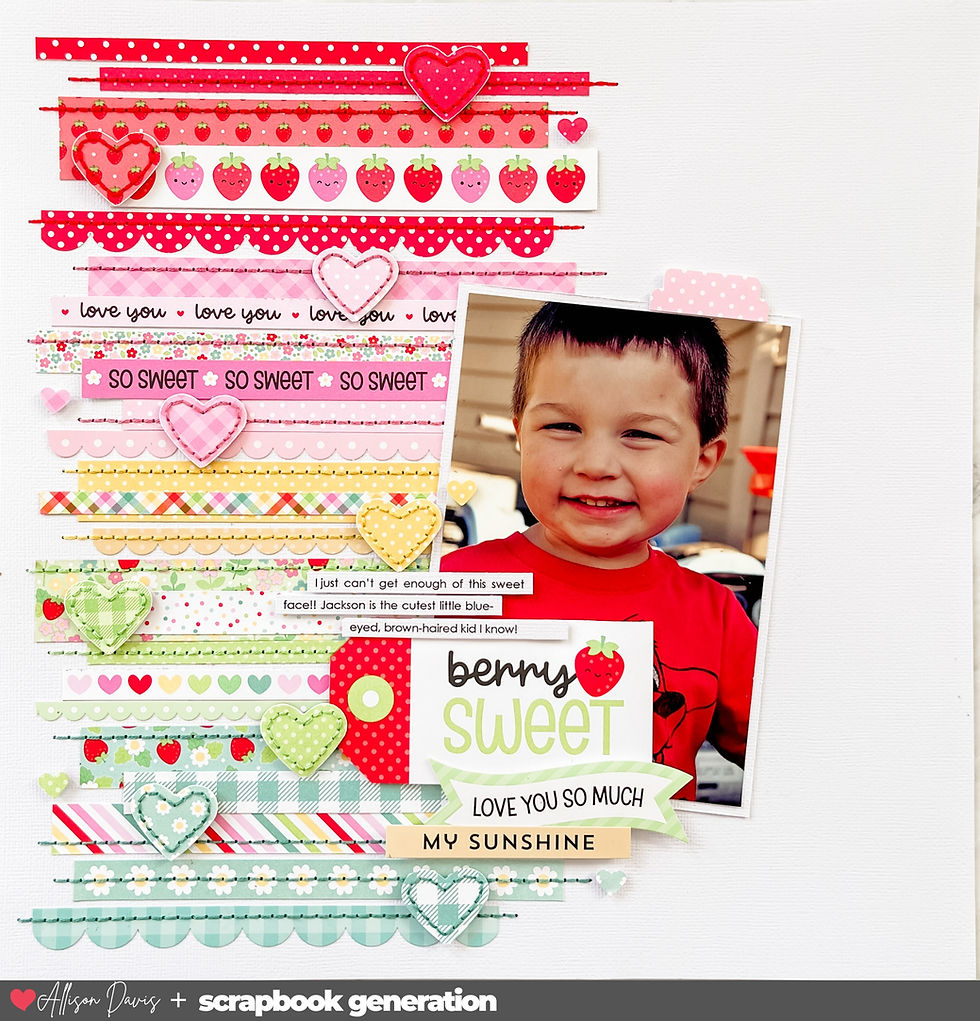
Variation #4 - Aligning strips and adding smaller accent strips.
There is so much going on in the photos plus I've got this large die cut and then the pumpkins...I decided to arrange those background strips at the same level. I also used more muted colors for those strips so I wasn't taking away from everything else on the layout.

If you guys know me, you know I'm a sucker for a good stripe. I couldn't resist adding in some smaller striped strips on top of those background strips.
I hope you all enjoyed Sketch Week! If you use this sketch, be sure to share it!
If you enjoy this sketch be sure to check out all of the sketches we have to offer at scrapbookgeneration.com There are tons of sketches!!
Products used: Cardstock: Carta Bella; Patterned paper: Photo Play, Simple Stories, and Echo Park; Alphabet stickers: Authentique; Chipboard embellishments: Simple Stories; Wooden hearts: Simple stories; Die Cut: The Silhouette Design Store, Amanda McGee; Computer font: Century Gothic

Comments